![]()
10 DIY Wainscoting Ideas That Add Instant Character
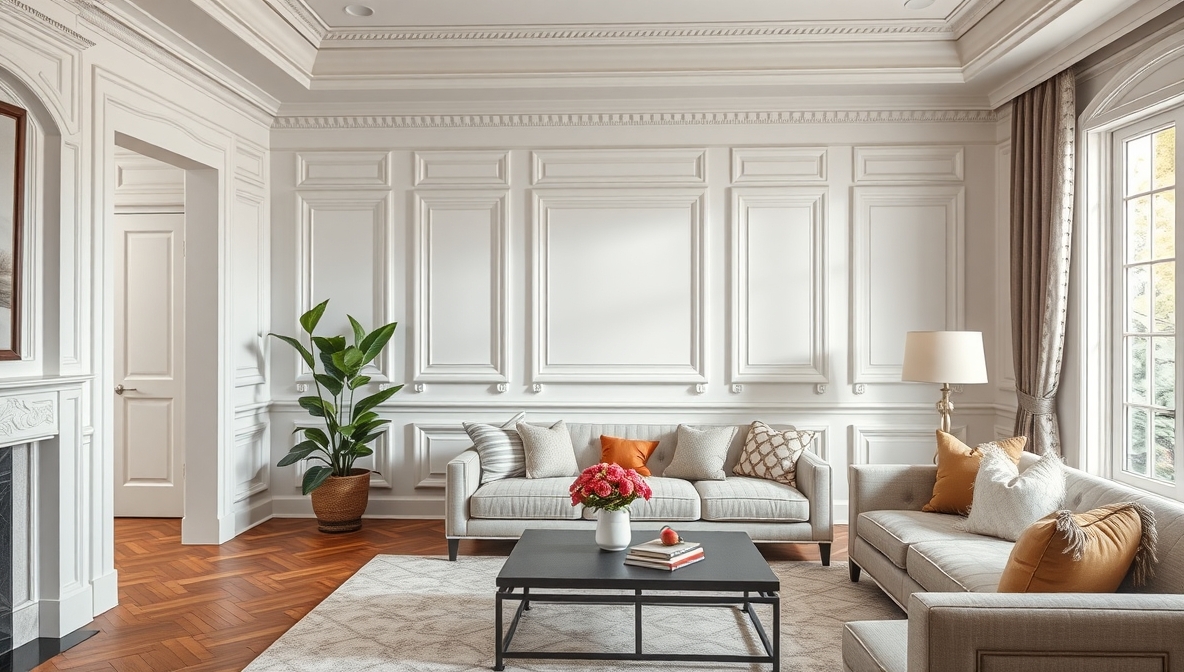
Wainscoting adds more than texture and charm—it tells a story of craftsmanship and thoughtful design. This timeless wall treatment has graced interiors for centuries, and today’s DIY takes keep that legacy alive with personal flair. From sleek modern panels to rustic farmhouse accents, wainscoting delivers instant impact without requiring a professional crew or a major renovation budget.
Most homeowners underestimate how easily a flat wall can turn into an architectural feature. A few MDF boards, a level, and a can of paint can change the entire vibe of a hallway, bedroom, or dining space. The beauty lies in its flexibility. Go classic with raised panels or experiment with board and batten in bold, modern colors. There’s no rulebook—only inspiration and a bit of elbow grease.
Budget-friendly materials and straightforward tools make this project accessible to beginners and seasoned DIYers alike. The process teaches patience and rewards attention to detail. With the right vision and a weekend set aside, those blank walls don’t stand a chance.
This guide lays out wainscoting ideas that offer both elegance and individuality. Every design starts with an idea, and the next one could belong to your home.
DIY Wainscoting Ideas
Wainscoting adds character and style to any room. It protects walls and gives your space a finished look. You don’t need to hire a contractor or spend too much money. These DIY wainscoting ideas are easy to follow and work for beginners. Each idea below shows how you can make a big change using simple tools and materials.
1. Classic Board and Batten
This style is timeless. It looks neat and works in hallways, living rooms, and even bathrooms. Start by measuring your wall and marking vertical lines. Attach vertical wood boards evenly spaced apart. Then, add a horizontal board along the top. Caulk the seams and paint everything in one color.
White is a popular choice. It looks clean and bright. But you can also go bold with a deep navy or forest green. Use MDF boards or pine wood. These are easy to cut and cost-friendly.
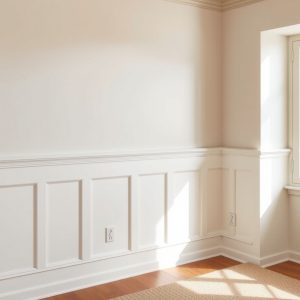
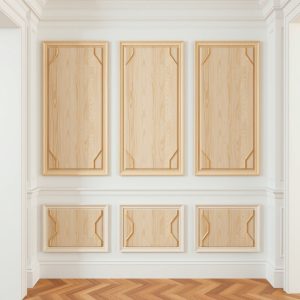
2. Raised Panel Style
Raised panels bring a formal look. Think of elegant dining rooms or traditional foyers. For this, you need to build boxes using trim boards. Inside each box, install a raised panel using thinner MDF or plywood. Nail the pieces to the wall and use wood filler for the gaps.
Sand everything smooth. Paint all the panels and trim in one color. This makes the wall look like one solid piece.
3. Beadboard Panels
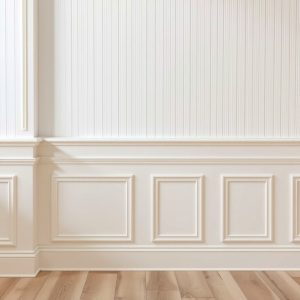
Beadboard is great for small rooms like bathrooms or laundry areas. It adds charm and texture. Buy pre-cut beadboard panels from the hardware store. Cut them to height and glue or nail them to the lower part of your wall. Add a chair rail on top for a finished edge.
Paint the panels white or soft gray for a calm look. This style also pairs well with cottage or farmhouse decor.
4. Shiplap Wainscoting
Shiplap isn’t just for full walls. It also works well as wainscoting. It adds horizontal lines and a modern farmhouse touch. Use tongue-and-groove boards or cut plywood strips. Space them evenly and nail them to the wall.
Finish with a baseboard and top rail. Leave the gaps visible between each board for the shiplap effect. White is a common choice, but light blue or sage green also look fresh.
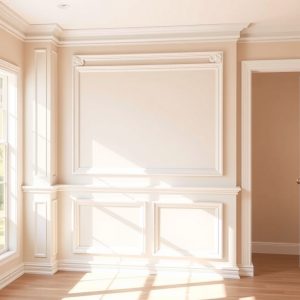
5. Picture Frame Molding
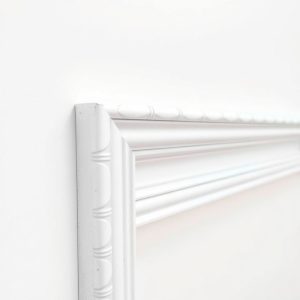
This idea gives a high-end look without much effort. Use flat trim boards to create square or rectangle shapes on the wall. Space them evenly. Use a level to make sure your lines stay straight.
This style works well in bedrooms or hallways. After attaching the trim, paint the whole area one color. You can even wallpaper the inside of each frame to add detail.
6. Two-Tone Wainscoting
You don’t have to paint your wainscoting and walls the same color. Try two-tone wainscoting for a modern twist. Paint the wainscoting in one color and the upper wall in another.
For example, use dark gray on the bottom and white on top. Or go for navy blue with soft beige. This contrast adds depth and makes the space feel fresh. Use any wainscoting style as a base. The color split does the rest.
7. DIY Geometric Wainscoting
Add some fun shapes to your walls. Use thin wood boards to make geometric patterns. Triangles, diamonds, or diagonal lines all work well.
Start with a plan. Use a pencil to draw the shapes. Cut and attach the boards to match your design. Once it’s complete, paint the whole section in one color.
This type looks great in modern spaces. You can also use it in kids’ rooms to add creativity.
8. Slat Wall Wainscoting
Vertical slats create clean lines. This style works in modern or Scandinavian-style homes. Use narrow wood strips and attach them vertically with equal spacing. Paint or stain them depending on your taste.
You can keep it natural wood or go bold with black or dark blue. Finish it with a top trim for a polished edge.
9. DIY Faux Wainscoting with Paint and Molding
Sometimes you don’t need real panels. Use paint and trim to create a wainscoting effect. Paint the lower wall a darker shade. Then use thin molding strips to form rectangles or squares.
This trick saves money and time. It works well in apartments or rental homes. You get the wainscoting look without heavy materials.
10. Rustic Wood Wainscoting
Rustic wood gives a warm, natural feel. Reclaimed wood or weathered boards work best. Attach them horizontally or vertically to the lower part of the wall.
Sand the edges to smooth rough areas. Seal the wood to protect it. You can use clear sealer or add a stain to change the color. This idea fits well in cabins, farmhouses, or cozy bedrooms.
FAQs
What is the easiest type of wainscoting for beginners?
Beadboard panels are the easiest. They come in large sheets and are simple to cut and install.
Can I do wainscoting on uneven walls?
Yes. Use caulk and filler to smooth gaps. Start with a level line to keep things straight.
How high should I install wainscoting?
Most wainscoting goes one-third up the wall. But you can adjust based on your ceiling height and room size.
Do I need special tools?
Basic tools like a saw, level, measuring tape, nails, and caulk are enough for most DIY styles.
Can I paint over wainscoting?
Yes. Sand the surface lightly, then use primer and paint in your chosen color.
Conclusion
DIY wainscoting adds charm, value, and style to your home. You don’t need to be a pro to make it happen. With simple tools and a clear plan, you can transform any room. Try one of these ideas and enjoy the new look. Small changes like these make a big difference.