![]()
Fresh DIY Art Frame Ideas to Elevate Your Wall Decor
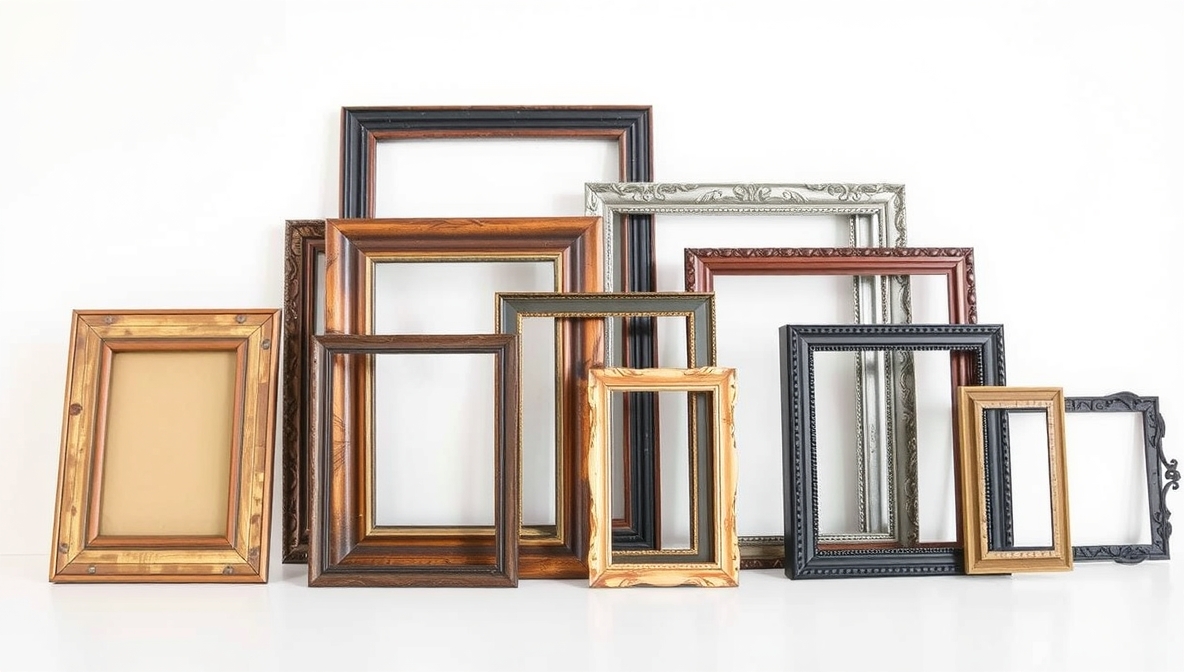
A bare wall holds endless potential. Art frames do more than just showcase your favorite pieces; they add depth, texture, and personality to any space. Unique frame designs turn simple prints into captivating focal points, blending seamlessly with your home’s character. From rustic wooden frames to upcycled vintage finds, endless possibilities await anyone eager to add a personal touch to their walls.
Mixing materials like metal, fabric, or reclaimed wood introduces an unexpected flair that standard store-bought frames often lack. Playing with colors, patterns, and embellishments can breathe new life into both modern and classic art pieces. Even the smallest details, such as custom matting or decorative accents, make a significant impact.
These DIY art frame ideas inspire fresh creativity, proving that stunning decor doesn’t demand a hefty budget or professional skills. Start exploring inventive ways to frame your art and watch your walls come alive with charm and individuality.
DIY Art Frame Ideas
Framing art at home can feel fun and rewarding. You save money, add a personal touch, and enjoy your creativity. Many simple methods exist to frame your favorite pieces. With a few tools and materials, anyone can make beautiful art frames at home. Here are 10 DIY art frame ideas that anyone can try.
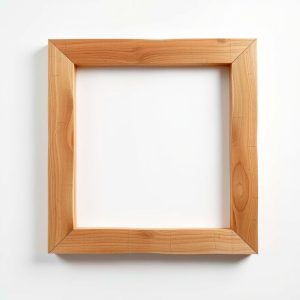
1. Simple Wooden Frame
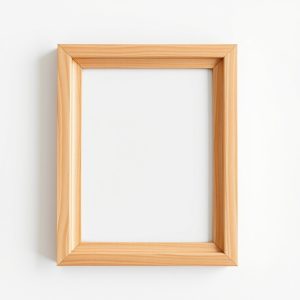
A plain wooden frame fits almost any style. You can make it with a few wooden strips, nails, glue, and some paint or stain.
Start by measuring your artwork. Cut the wooden strips to fit each side. Sand the edges to make them smooth. Use wood glue to join the corners. Clamp them until the glue dries. For extra strength, add small nails or corner brackets. Once dry, paint or stain the frame. Use light colors for a modern look. Dark stains give a classic feel.
Hang your frame using simple hanging hardware or adhesive strips. This basic frame works well for photos, prints, or small paintings.
2. Washi Tape Frame
Washi tape frames are fast and fun. They work great for posters or lightweight prints.
Clean the wall where you want to place your artwork. Stick the washi tape directly on the wall around the edges of the artwork. You can create straight borders or add patterns. Try stripes, chevrons, or simple corners. Washi tape comes in many colors and designs. Mix and match to create something special.
Since washi tape is easy to remove, you can change the frame whenever you like. Perfect for kids’ rooms or seasonal art displays.
3. Floating Frame
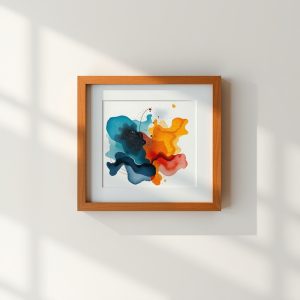
A floating frame gives your artwork a modern, elegant look. It creates space between the art and the frame, making it appear as if it floats.
Buy two clear acrylic or glass sheets slightly larger than your artwork. Place the artwork between the sheets. Secure the edges with metal clips or a wooden frame. You can attach small spacers to create a gap between the artwork and the frame edge.
Floating frames work well for pressed flowers, drawings, or photographs. They keep the focus on the art while adding a clean, professional touch.
4. Vintage Window Frame
Old window frames make charming art frames. You can find them at thrift stores, flea markets, or even in your garage.
Clean and sand the window frame. Paint it or leave the weathered look for a rustic feel. Remove the glass if it’s damaged. Place your artwork behind the window panes. Secure it with small nails or clips. You can use backing board to hold it steady.
This style works best for farm-style homes or cozy spaces. It adds character and a story to your wall.
5. Clipboard Frame
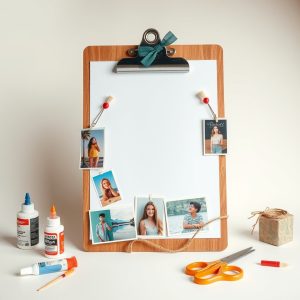
Clipboards can turn into simple, stylish frames. They are great for rotating art or displaying collections.
Choose a wooden or metal clipboard. Clip your artwork onto the board. You can hang it directly on the wall using a nail or adhesive hook. For a cleaner look, paint the clipboard to match your room’s color.
Clipboards make it easy to change your display. Ideal for kids’ art, inspirational quotes, or small posters.
6. Embroidery Hoop Frame
Embroidery hoops bring a soft, crafty touch to art framing. They work well for fabric art, cross-stitch, or printed fabric.
Place the fabric art inside the embroidery hoop. Stretch it tight, then trim the excess fabric at the back. For a neat finish, glue or tape the trimmed edges to the inside of the hoop. You can paint the hoop or leave it natural.
Hang the hoop using ribbon, string, or a small nail. This simple frame idea adds a cozy, handmade feel to any room.
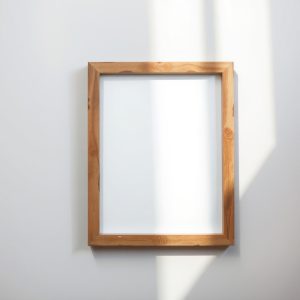
7. Pallet Wood Frame
Pallet wood gives a rustic, natural vibe to art frames. It is often free or very cheap.
Dismantle the pallet and choose the best-looking boards. Sand them smooth but keep the rustic texture. Cut the wood to size and build a simple frame using wood glue and nails. You can stain or paint it if you like.
Mount your artwork with clips, adhesive, or a backing board. This style fits well in country homes, cabins, or boho rooms.
8. Branch Frame
Branches bring nature indoors. They make unique, eye-catching frames.
Collect four straight branches of similar thickness. Cut them to the needed lengths. Clean and dry them completely. Use hot glue, twine, or wire to join the corners. For extra strength, drill small holes and use screws.
Mount your art by attaching it to the back with tape or clips. Branch frames suit nature prints, botanical drawings, or outdoor photos.
9. Cardboard Frame
Cardboard frames are budget-friendly and easy to make. Perfect for students, kids, or quick projects.
Cut a piece of cardboard slightly larger than your artwork. Cut another piece with a window cutout for the front. Glue the two pieces together with your artwork sandwiched inside. Paint or decorate the frame with stickers, fabric, or colored paper.
Use adhesive strips to hang it on the wall. Though simple, cardboard frames can look stylish with the right decorations.
10. Ladder Frame Display
An old wooden ladder can become a creative frame display for multiple artworks.
Clean and paint the ladder to match your decor. Lean it against the wall or secure it for safety. Use clips, strings, or mini hooks to hang your art on each rung. You can display photos, prints, or small canvases.
Ladder displays work well for gallery walls or cozy corners. They add height and interest to any space.
FAQs
How can I make a frame without tools?
Use washi tape, clipboards, or adhesive strips with cardboard. These methods need no special tools.
Where can I find cheap materials for DIY frames?
Check thrift stores, dollar stores, or recycle items at home. Old windows, pallets, and branches work well.
Can I frame heavy art with DIY methods?
Yes, but use strong materials like wood or acrylic. Secure the frame well to avoid accidents.
What type of glue works best for wooden frames?
Wood glue gives strong, lasting bonds. Use clamps to hold the pieces together while drying.
How do I hang my DIY frame safely?
Use proper wall anchors, nails, or adhesive hooks depending on the frame’s weight.
Conclusion
DIY art frames allow anyone to display their artwork with style and personality. With simple materials and a little time, you can create frames that fit any home. Try different styles. Experiment with colors and textures. Most of all, enjoy the process. Your walls will thank you.