![]()
Cozy Corners & Creative Vibes: DIY Bedroom Ideas That Spark Joy
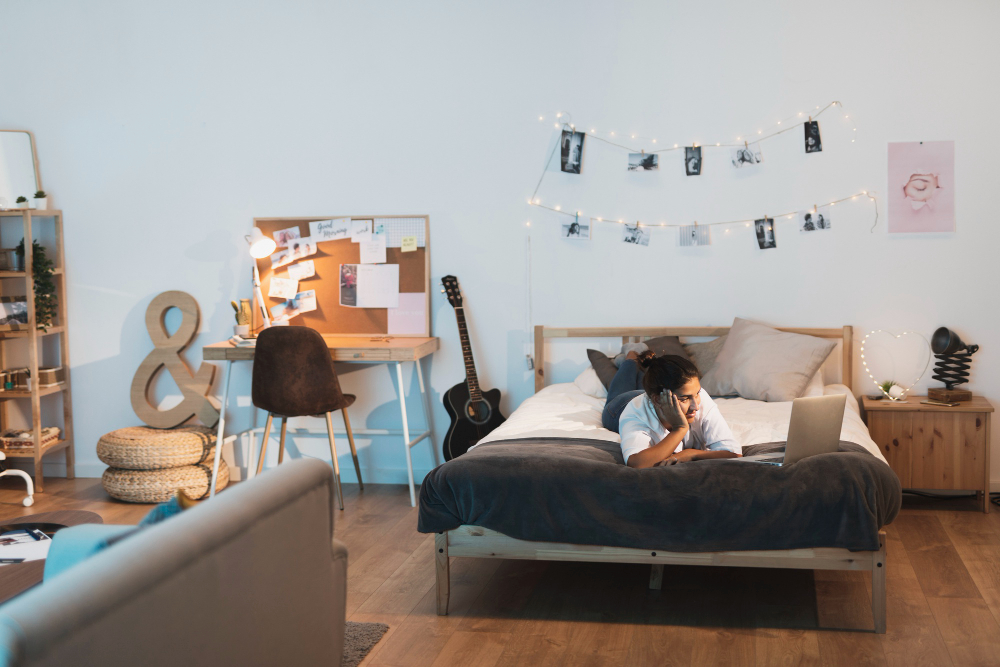
A bedroom should feel like a personal retreat, not just a place to sleep. Fresh ideas can breathe life into the space without a hefty price tag or a full renovation. Simple tweaks—like a splash of color, repurposed furniture, or handcrafted wall art—can shift the energy entirely. Personality shines through details, and nothing adds character quite like DIY elements tailored to your taste.
Mix textures, play with lighting, and incorporate meaningful pieces to make the room truly yours. Even a blank wall holds the potential for a gallery, a cozy reading nook, or a statement headboard. Style doesn’t demand big spending—it invites imagination.
This guide offers creative and practical DIY ideas that elevate your bedroom into a space you’ll love coming home to. Dive in and discover how small changes can make a big difference, one cozy corner at a time.
DIY Bedroom Ideas
Giving your bedroom a new look doesn’t need a big budget. Small changes can make a big difference. With some effort and a few tools, you can turn your room into a peaceful, cozy place. Here are ten easy and creative DIY bedroom ideas that anyone can try. Each idea comes with materials and steps to follow.
1. Create a Headboard from Wooden Pallets
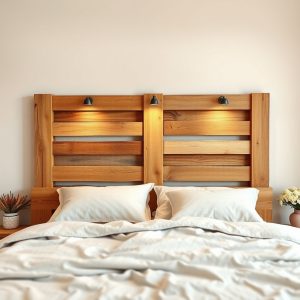
A headboard can change the way your bed looks. You don’t need to buy one. Make it from wooden pallets.
Materials Needed:
-
2 or 3 wooden pallets
-
Sandpaper
-
Wood stain or paint
-
Brush or roller
-
Screws
-
Drill
Steps:
-
Find clean wooden pallets.
-
Sand them to remove splinters.
-
Paint or stain the wood. Let it dry.
-
Screw the pallets together to match your bed’s width.
-
Mount the headboard to the wall or attach it to your bed frame.
Now your bed looks more stylish and warm.
2. Use Fairy Lights for Soft Lighting
Fairy lights give a cozy glow. They are cheap and easy to install.
Materials Needed:
-
A string of fairy lights
-
Small nails or adhesive hooks
-
Batteries (if needed)
Steps:
-
Choose where to hang the lights—around your headboard, ceiling, or window.
-
Use hooks or nails to keep the lights in place.
-
Turn them on and enjoy the soft light.
This simple idea adds charm to any room.
3. Build a Floating Shelf

Floating shelves help with storage and look modern. Use them for books, plants, or decor.
Materials Needed:
-
Wooden board
-
Brackets (invisible or small ones)
-
Screws
-
Drill
-
Wall anchors (optional)
-
Paint or stain
Steps:
-
Cut the wood to the size you want.
-
Sand and paint or stain the board.
-
Mark where you want the shelf.
-
Attach the brackets to the wall.
-
Place the board on top and secure it.
This shelf gives you space without taking up floor area.
4. Paint a Wall with a Simple Pattern
A painted wall adds color and life. Use a sponge or tape to make patterns.
Materials Needed:
-
Wall paint
-
Sponge or painter’s tape
-
Paint roller or brush
-
Tray
-
Drop cloth
Steps:
-
Cover the floor with a drop cloth.
-
Use tape to mark patterns or dip a sponge into paint.
-
Paint one wall to make it an accent wall.
-
Let it dry fully.
The room feels new and fresh with just one painted wall.
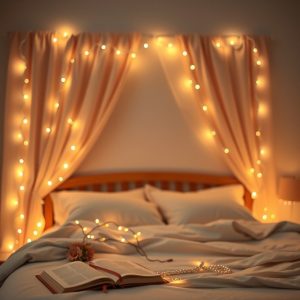
5. Make a Fabric Canopy Over the Bed
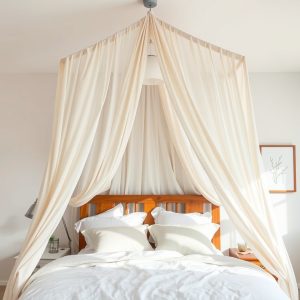
A canopy makes your bed feel like a private space. It’s easy to make with fabric and hooks.
Materials Needed:
-
Sheer or light fabric (at least 4-5 yards)
-
Ceiling hooks
-
Curtain rings or rope
-
Ladder
Steps:
-
Choose soft, flowing fabric.
-
Install hooks on the ceiling above your bed.
-
Hang the fabric using rings or tie it to the hooks.
-
Drape it down the sides.
This makes your room feel more peaceful and dreamy.
6. Use Crates for a DIY Nightstand
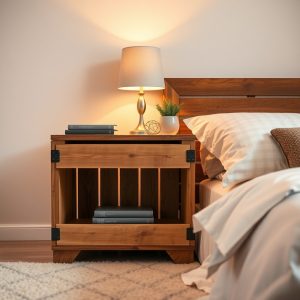
Old wooden crates can become a rustic nightstand. Stack and paint them to match your room.
Materials Needed:
-
2 or 3 wooden crates
-
Paint or wood stain
-
Sandpaper
-
Nails or screws (optional)
Steps:
-
Sand the crates to smooth them out.
-
Paint or stain them.
-
Let them dry.
-
Stack them next to your bed.
-
You can screw them together if you want more stability.
Now you have a place for your lamp, books, or alarm clock.
7. Make a Pegboard Wall Organizer
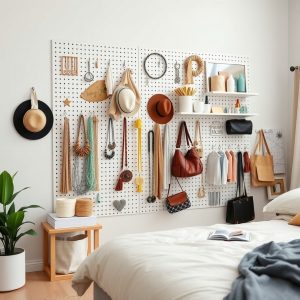
Pegboards help keep small items in one place. Great for accessories, notes, or tools.
Materials Needed:
-
Pegboard sheet
-
Mounting kit or screws
-
Hooks
-
Small baskets or holders
-
Paint (optional)
Steps:
-
Paint the pegboard to match your room.
-
Let it dry.
-
Mount it on the wall using screws or the kit.
-
Add hooks and baskets.
-
Hang items like keys, glasses, or art.
This idea helps keep your space clean and organized.
8. DIY Photo Wall with Washi Tape

Photos make your space feel personal. Use washi tape to make fun frames.
Materials Needed:
-
Printed photos
-
Washi tape (colored or patterned)
-
Scissors
-
Ruler or level
Steps:
-
Print your favorite photos.
-
Plan your layout on the wall.
-
Use washi tape to stick the photos and make borders.
-
Mix shapes and sizes for a fun look.
Your wall now tells your story.
9. Turn Old Drawers into Under-Bed Storage
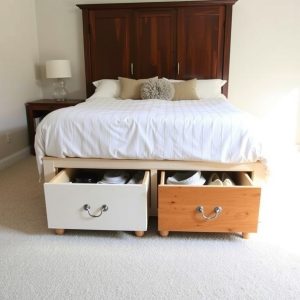
Need more storage? Use old drawers under your bed.
Materials Needed:
-
Old drawers
-
Paint
-
Sandpaper
-
Caster wheels (optional)
-
Screwdriver
Steps:
-
Sand and paint the drawers.
-
Screw caster wheels to the bottom if you want them to roll.
-
Slide them under your bed.
-
Store shoes, clothes, or books inside.
This gives you extra space without adding furniture.
10. Make a DIY Rug from Old T-Shirts

No need to throw out old clothes. Turn them into a soft floor rug.
Materials Needed:
-
Old t-shirts
-
Scissors
-
Large needle and thread or non-slip rug base
-
Patience
Steps:
-
Cut the t-shirts into strips.
-
Braid the strips together.
-
Coil the braid into a circle or oval shape.
-
Stitch it together or glue it to a rug base.
Now you have a cozy rug with a personal touch.
FAQs
How much does it cost to try these DIY bedroom ideas?
Most of these ideas cost very little. Many materials can be found at home or bought cheaply.
Do I need to be good at crafts to do this?
No. These ideas are beginner-friendly. Just follow the steps one at a time.
How long do these projects take?
Some take only 30 minutes. Others may take a few hours or a weekend.
Can I use recycled items?
Yes. Reusing old items makes the projects even better for the environment.
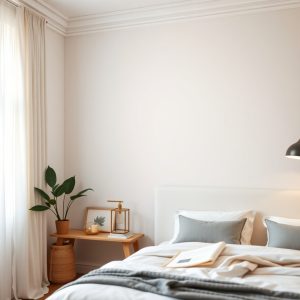
Will this work in a small bedroom?
Yes. Many of these ideas help save space and keep things tidy.
Conclusion
DIY bedroom ideas don’t need to be hard or expensive. With a few tools and a little time, you can create a space that feels just right. Try one or try all. Each project brings something special. Start small, and enjoy the change.
Let your room show who you are. One simple idea at a time.