![]()
DIY Bracelet Ideas: Spark Creativity with Every Twist and Knot
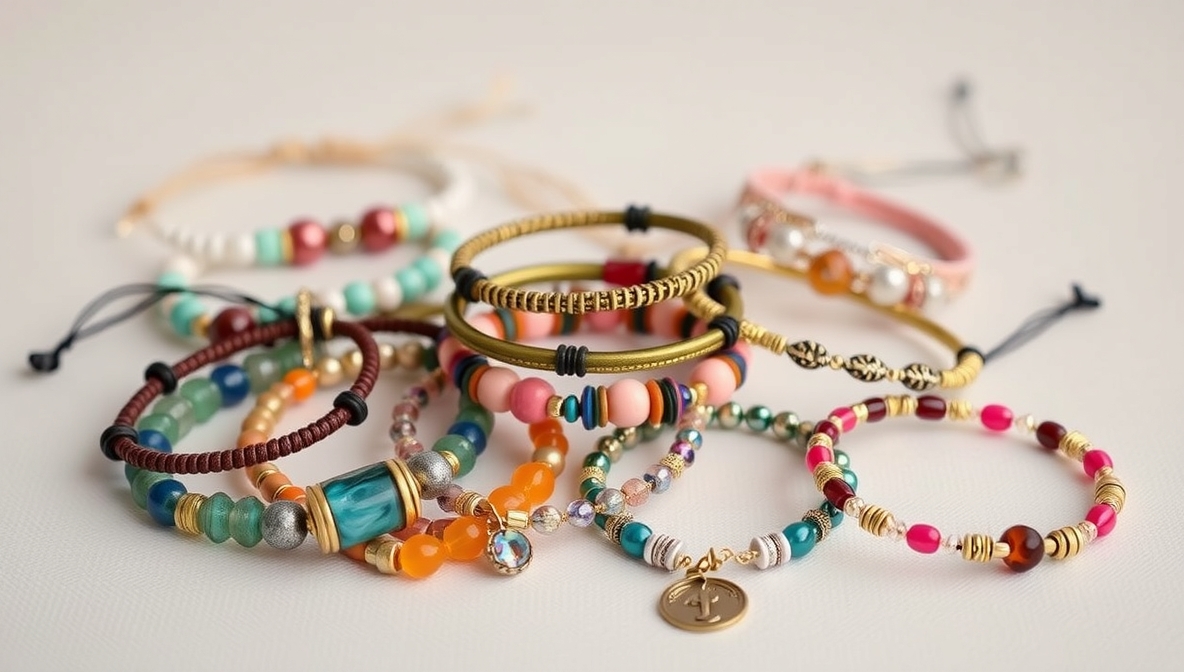
Bracelets tell stories through colors, textures, and personal touches. A simple thread can become a vibrant accessory, while a few beads can turn into a meaningful gift. The beauty of DIY bracelets lies in endless possibilities and the joy of crafting something entirely unique. Materials like leather cords, embroidery floss, beads, and charms open up a playground of styles, from boho-chic to minimalist elegance. Every knot, braid, and clasp adds character, reflecting the maker’s personality and vision.
Friends often exchange these handmade treasures as symbols of friendship, milestones, or just for fun. A quick afternoon project can result in a piece that sparks conversations and compliments. The process offers relaxation and a break from screens, allowing hands and minds to collaborate in a creative dance. Dive into these DIY bracelet ideas and discover fresh ways to express style, emotion, and craftsmanship with every wrist-ready creation.
Table of Contents
Toggle10 DIY Bracelet Ideas
Making bracelets at home feels satisfying. You create something unique. You save money. And you get to wear your style proudly. Many people think crafting bracelets is hard. But it’s not. With simple materials and a bit of time, anyone can do it.
Below are 10 easy DIY bracelet ideas. Each one includes a short list of materials and simple steps. Let’s dive right in.
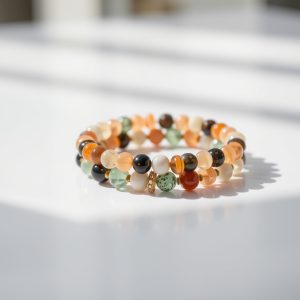
1. Beaded Stretch Bracelet
Materials:
-
Elastic cord
-
Assorted beads (plastic, glass, wooden)
-
Scissors
-
Glue (optional)
Steps:
-
Measure your wrist using the elastic cord.
-
Cut the cord about 2 inches longer than your wrist size.
-
Slide the beads onto the cord in any pattern you like.
-
Tie a strong double knot once you finish.
-
Add a drop of glue on the knot for extra strength.
-
Trim the extra cord.
This bracelet fits almost anyone. You can pick different colors for different moods or outfits.
2. Friendship Bracelet
Materials:
-
Embroidery floss or cotton thread (3 or more colors)
-
Scissors
-
Tape or safety pin
Steps:
-
Cut equal lengths of each color thread (about 24 inches).
-
Tie all threads together with a knot, leaving a small loop.
-
Secure the loop with tape or a pin.
-
Separate the threads.
-
Start knotting using the forward knot technique.
-
Repeat until it fits your wrist.
-
Tie the ends together and trim.
These bracelets remind people of old-school summer camp days. Simple, yet full of meaning.
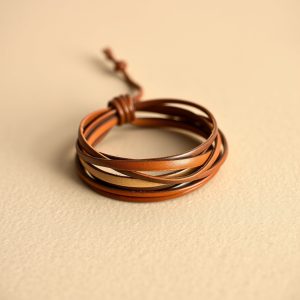
3. Leather Wrap Bracelet
Materials:
-
Leather cord
-
Beads with large holes
-
Button or clasp
-
Needle and thread
Steps:
-
Cut the leather cord double the length of your wrist.
-
Fold the cord in half and tie a knot to create a loop.
-
Thread the beads using the needle and thread, weaving between the leather cords.
-
Keep weaving until the bracelet wraps around your wrist twice.
-
Attach a button or clasp at the end.
-
Trim any extra cord.
Leather wrap bracelets look stylish. They fit both casual and dressy outfits.
4. Paracord Bracelet
Materials:
-
Paracord (about 10 feet)
-
Side-release buckle
-
Scissors
-
Lighter
Steps:
-
Measure your wrist and cut the paracord accordingly.
-
Fold the paracord in half and attach it to the buckle.
-
Weave the paracord using a cobra knot or other simple pattern.
-
Continue until the bracelet reaches your wrist length.
-
Trim the ends and melt them slightly with the lighter to prevent fraying.
Paracord bracelets are strong. Many campers and hikers wear them because they are both stylish and useful.
5. Macrame Bracelet
Materials:
-
Waxed cord or nylon cord
-
Beads (optional)
-
Scissors
-
Clipboard or tape
Steps:
-
Cut three cords: one long and two shorter ones.
-
Secure the long cord to your workspace.
-
Start knotting the shorter cords using square knots.
-
Slide beads in between knots if you like.
-
Keep knotting until the bracelet fits your wrist.
-
Tie a final knot and trim the excess.
Macrame allows endless designs. You can make simple ones or complex patterns.
6. Charm Bracelet
Materials:
-
Chain bracelet base
-
Jump rings
-
Charms of your choice
-
Pliers
Steps:
-
Open each jump ring with pliers.
-
Attach one charm to each jump ring.
-
Hook the jump ring onto the chain bracelet.
-
Close the jump ring with pliers.
-
Add as many charms as you want.
Charm bracelets tell a story. You can add charms from your travels, hobbies, or favorite things.
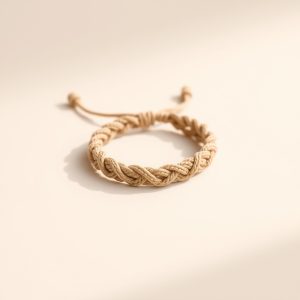
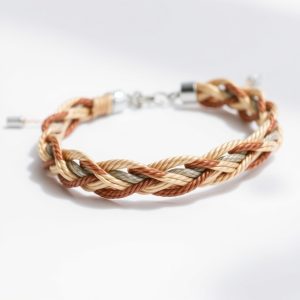
7. Braided Bracelet
Materials:
-
Three strands of cord or yarn
-
Scissors
-
Tape
Steps:
-
Cut three equal lengths of cord.
-
Tie them together at one end.
-
Secure that end with tape.
-
Braid the cords together.
-
Tie a knot at the end.
-
Trim the extra cords.
This simple braid looks nice alone or stacked with other bracelets.
8. Button Bracelet
Materials:
-
Assorted buttons
-
Elastic cord or thin leather cord
-
Scissors
-
Needle (if using thin thread)
Steps:
-
Measure and cut the cord to fit your wrist.
-
Thread the buttons onto the cord.
-
Arrange the buttons in any pattern.
-
Tie a knot to secure the buttons in place.
-
Close the bracelet with a double knot.
Button bracelets add a quirky touch. Great for using leftover buttons from sewing projects.
9. Wire Wrapped Bracelet

Materials:
-
Jewelry wire
-
Beads
-
Pliers
-
Wire cutter
Steps:
-
Cut a long piece of wire.
-
Thread a bead onto the wire.
-
Wrap the wire tightly around the bead to hold it in place.
-
Continue adding beads and wrapping.
-
Shape the bracelet as you go.
-
Use pliers to tuck in sharp wire ends.
Wire wrapping creates a strong, artistic look. You can mix bead sizes and colors for extra flair.
10. Ribbon Bracelet
Materials:
-
Ribbon (satin, velvet, or lace)
-
Clasps
-
Scissors
-
Needle and thread
Steps:
-
Measure and cut the ribbon to fit your wrist.
-
Fold the ribbon edges to prevent fraying.
-
Sew or glue the clasp onto both ends of the ribbon.
-
Let it dry completely before wearing.
Ribbon bracelets feel soft on the skin and look very elegant.
FAQs
What is the easiest DIY bracelet to make?
Beaded stretch bracelets are the easiest. You only need beads and elastic cord.
Can children make these bracelets?
Yes. Many of these ideas are safe for kids with adult supervision, especially the friendship and braided bracelets.
Where can I buy the materials?
Craft stores, online shops, and even dollar stores often have these materials.
How long does it take to make one bracelet?
Most bracelets take 15 to 30 minutes once you gather your supplies.
Do I need special tools?
Simple tools like scissors, pliers, or a needle are enough for most designs.
Can I sell these bracelets?
Yes. Handmade bracelets sell well at local markets and online platforms.
How can I make my bracelet stronger?
Use good-quality materials and secure knots. Adding a drop of glue on knots helps.
Are these good for gifts?
Absolutely. Handmade bracelets make personal and thoughtful gifts.
What if my bracelet breaks?
Most are easy to fix. Replace the broken part and retie or reattach it.
Can I use recycled materials?
Yes. Old buttons, fabric scraps, or broken jewelry can become new bracelets.
Conclusion
Making DIY bracelets is fun and easy. With simple tools and materials, anyone can create beautiful jewelry at home. These 10 ideas cover many styles, from classic to trendy. Start with one, then explore more. Your creativity will grow with each bracelet you make. Handmade bracelets not only save money but also add a personal touch to your accessories. Happy crafting