![]()
Budget-Friendly DIY Countertop Ideas to Elevate Your Kitchen
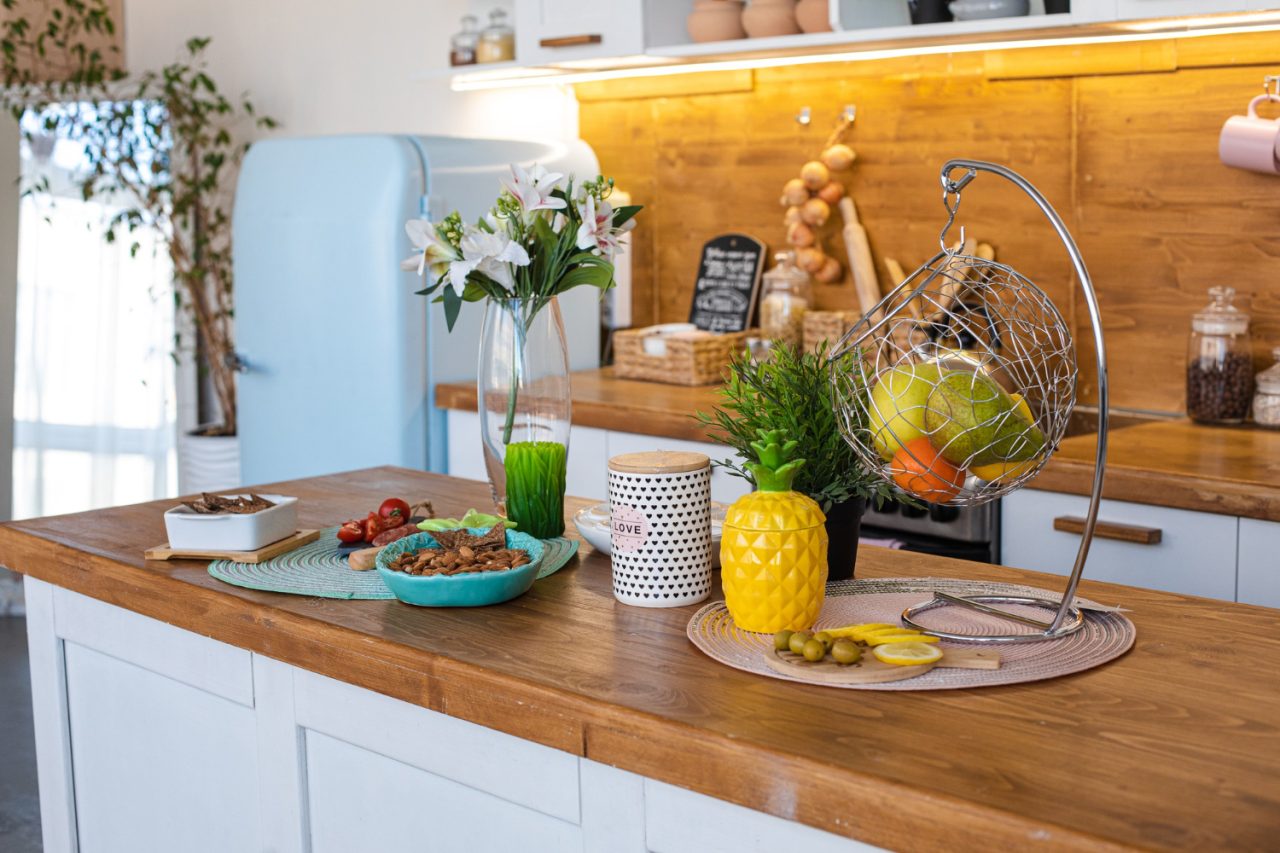
A stylish countertop upgrade doesn’t have to break the bank. With the right materials and a bit of creativity, a stunning new look is within reach. From sleek concrete finishes to rustic wooden slabs, DIY options bring charm and personality to any space.
Simple techniques like epoxy coatings or tile overlays add elegance without the hefty price tag. Butcher block offers warmth and durability, while painted laminate mimics high-end stone at a fraction of the cost. Each choice allows customization to match any design vision.
Affordable projects don’t mean sacrificing quality. With proper sealing and maintenance, these countertops stand the test of time. Whether modern, farmhouse, or industrial, a fresh surface can transform a kitchen or bathroom instantly. A little effort goes a long way, proving that stunning results don’t require a professional touch.
DIY Countertop Ideas: 10 Affordable and Stylish Options
Upgrading a kitchen or bathroom doesn’t have to be expensive. A DIY countertop project can add style and functionality to your space while keeping costs low. Whether using wood, concrete, or other creative materials, there are plenty of options to explore. Here are ten DIY countertop ideas that can transform any space on a budget.
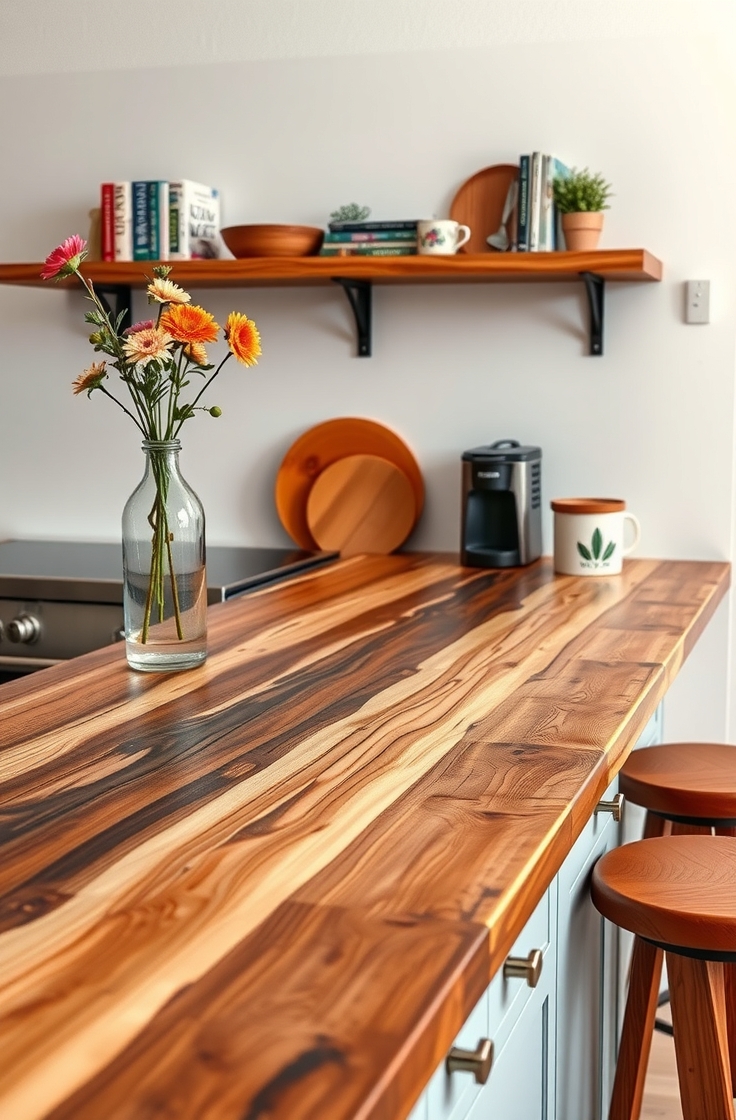
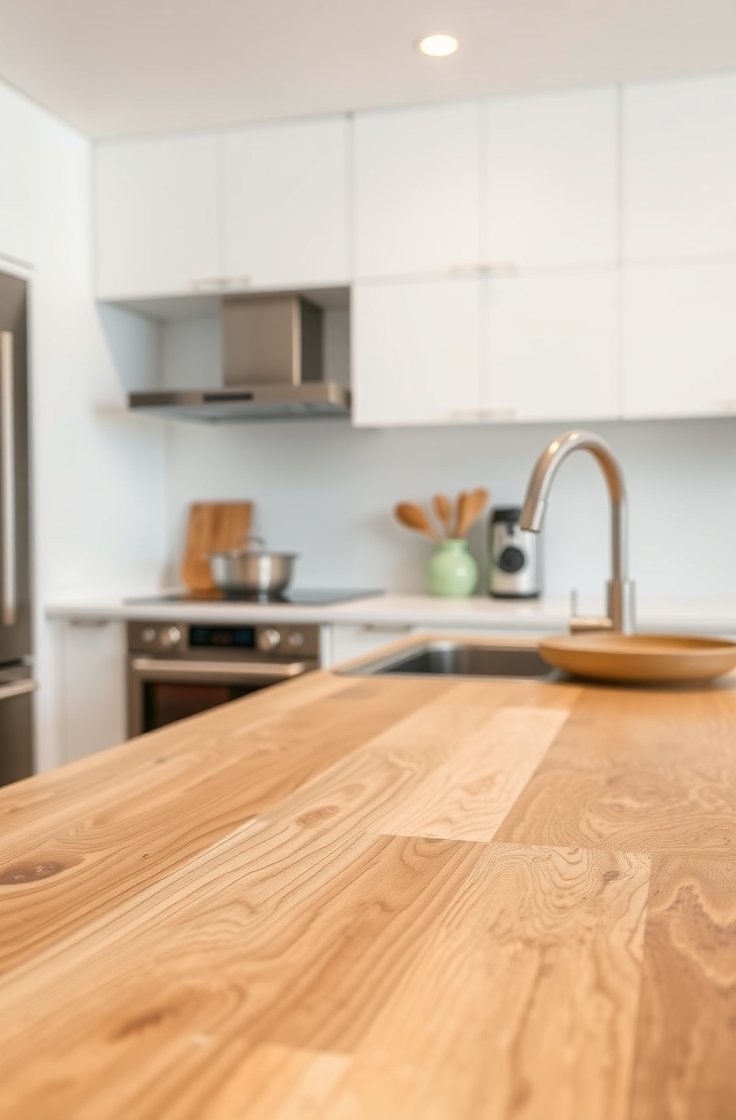
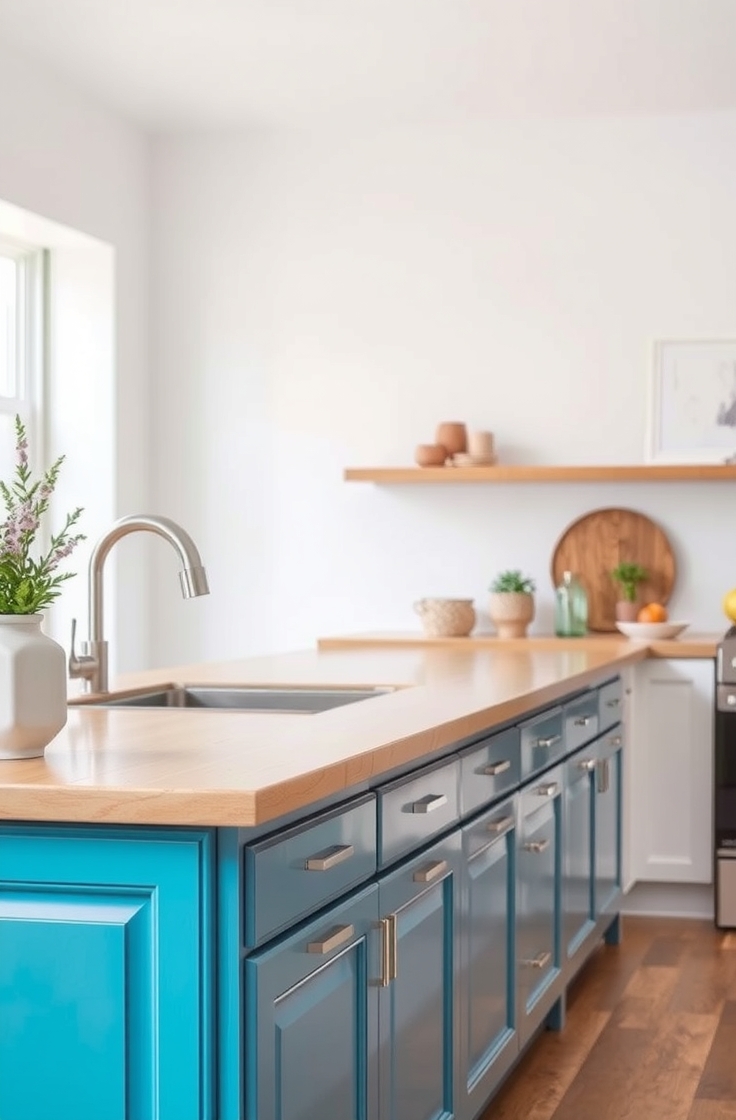
1. Butcher Block Countertops
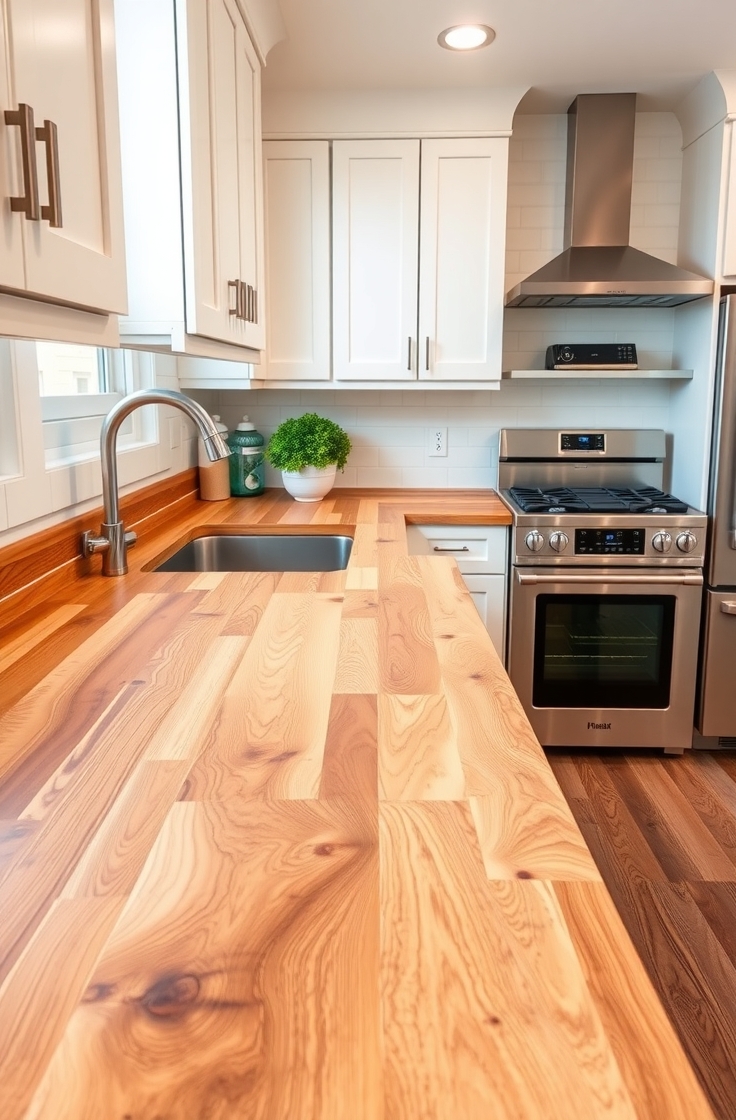
Wooden countertops bring warmth and charm to any kitchen. Butcher block, made from hardwood pieces glued together, offers a natural and durable surface. Sanding and sealing the wood protect it from moisture and stains. Mineral oil or food-safe sealants keep it in top condition. This option works well for rustic and farmhouse-style kitchens.
Materials Needed:
- Hardwood planks (maple, oak, or walnut)
- Wood glue
- Clamps
- Sandpaper
- Food-safe mineral oil or sealant
Steps:
- Cut the hardwood planks to size.
- Glue and clamp them together.
- Sand the surface until smooth.
- Apply food-safe mineral oil or sealant.
- Install and secure the countertop.
2. Concrete Countertops
Concrete countertops provide an industrial and modern feel. A mix of cement, sand, and water is poured into a mold to create a custom surface. Pigments and aggregates enhance the design. Sealing the surface prevents staining and water damage. This option is highly customizable, allowing for various colors and textures.
Materials Needed:
- Concrete mix
- Water
- Reinforcement mesh
- Mold (melamine board)
- Sandpaper or polishing pads
- Concrete sealer
Steps:
- Build a mold using melamine boards.
- Mix and pour the concrete into the mold.
- Insert reinforcement mesh for durability.
- Let the concrete cure for 48 hours.
- Sand and seal the surface.
3. Tile Countertops
Tiles are budget-friendly and easy to install. Ceramic, porcelain, or natural stone tiles offer endless design choices. A cement board base ensures stability. Grout lines require sealing to prevent stains and moisture buildup. This option works well in kitchens and bathrooms, adding a classic or modern touch.
Materials Needed:
- Tiles (ceramic, porcelain, or stone)
- Tile adhesive
- Cement board
- Tile spacers
- Grout and grout sealer
Steps:
- Cut and install the cement board.
- Apply tile adhesive and place the tiles.
- Use spacers to keep grout lines even.
- Let the adhesive dry and apply grout.
- Seal the grout for a waterproof finish.
4. Laminate Countertops
Laminate is an affordable alternative to expensive stone surfaces. Modern designs mimic marble, granite, and wood. Installation involves cutting the laminate sheets to size and adhering them to a plywood base. Edge banding gives a polished look. This option is scratch-resistant and easy to clean.
Materials Needed:
- Laminate sheets
- Plywood base
- Contact cement
- Utility knife
- Edge banding
Steps:
- Cut the plywood and laminate sheets to size.
- Apply contact cement to both surfaces.
- Press the laminate onto the plywood.
- Trim the edges with a utility knife.
- Attach edge banding for a finished look.
5. Epoxy Resin Countertops
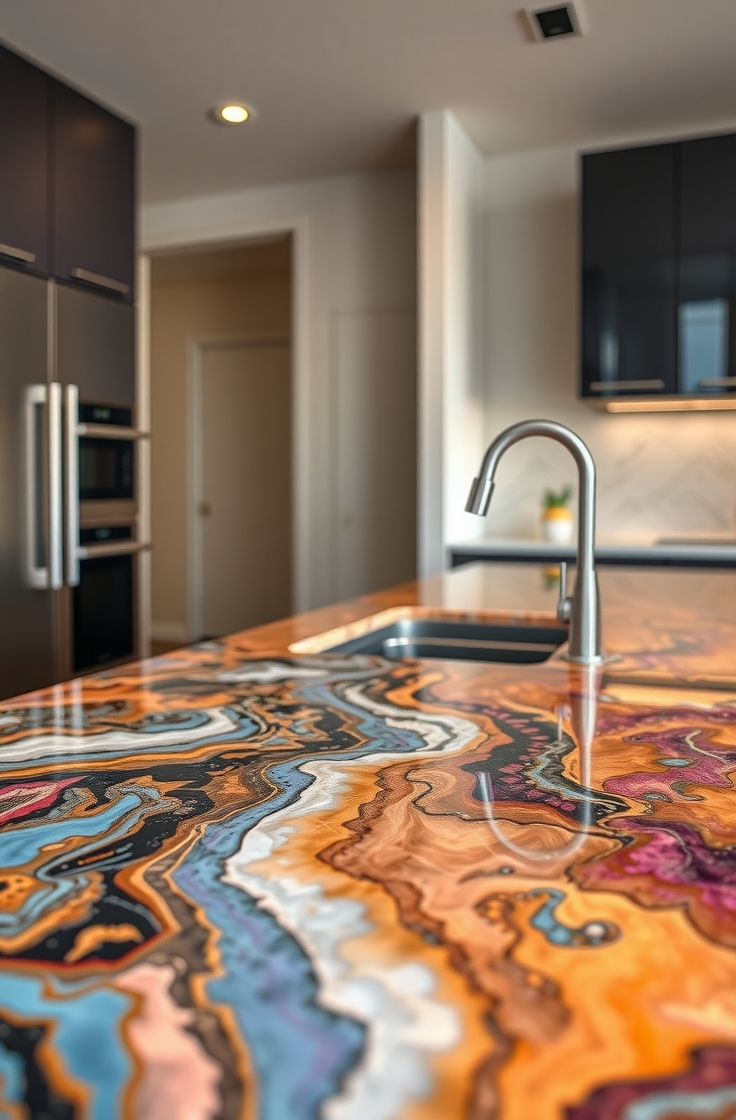
Epoxy creates a glossy, durable finish that resembles stone. A mix of resin and hardener is poured over an existing surface. Pigments and metallic powders enhance the design. The curing process results in a seamless, waterproof surface. This option offers a high-end look at a fraction of the cost.
Materials Needed:
- Epoxy resin and hardener
- Color pigments or metallic powder
- Sandpaper
- Mixing containers
- Heat gun
Steps:
- Sand and clean the existing countertop.
- Mix epoxy resin with color pigments.
- Pour the mixture evenly over the surface.
- Use a heat gun to remove bubbles.
- Let it cure for 24-48 hours.
6. Reclaimed Wood Countertops
Using reclaimed wood adds character and sustainability to a space. Old barn wood, pallets, or salvaged planks can be sanded and sealed for a unique countertop. Wood glue and screws secure the pieces together. A food-safe sealant protects against moisture. This option suits vintage and rustic kitchens.
Materials Needed:
- Reclaimed wood planks
- Wood glue
- Screws
- Sandpaper
- Food-safe sealant
Steps:
- Cut and arrange reclaimed wood planks.
- Glue and screw them together.
- Sand the surface until smooth.
- Apply a food-safe sealant.
- Install and secure the countertop.
7. Stainless Steel Countertops
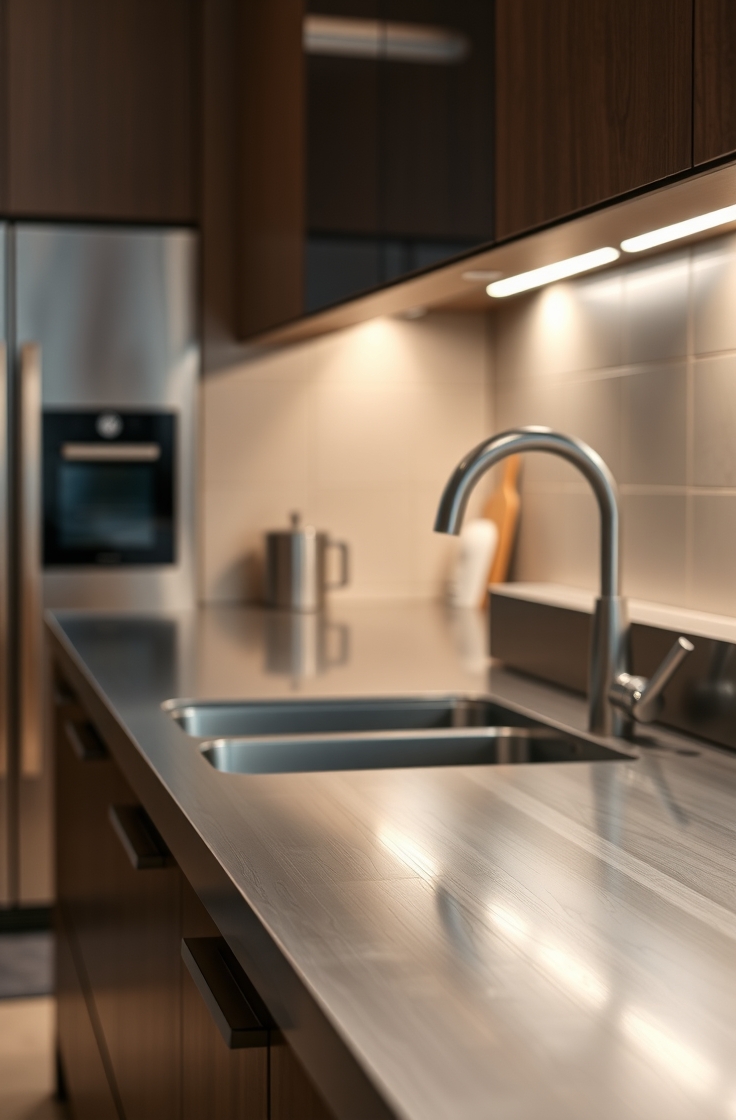
Stainless steel offers a sleek, professional look. Metal sheets are cut and adhered to a plywood base. Welding creates seamless edges. This surface resists heat, stains, and bacteria. While prone to scratches, it develops a patina over time. This option suits modern and industrial-style kitchens.
Materials Needed:
- Stainless steel sheets
- Plywood base
- Contact adhesive
- Metal trim (optional)
Steps:
- Cut plywood and stainless steel sheets to size.
- Apply contact adhesive to both surfaces.
- Press the stainless steel onto the plywood.
- Secure edges with metal trim if needed.
- Install the countertop in place.
8. Plywood Countertops
Plywood is an inexpensive yet stylish option. Multiple layers of plywood create a thick, sturdy surface. Sanding and sealing enhance durability. Stain or paint can add a custom touch. A waterproof sealant protects against damage. This option is ideal for minimalist and budget-conscious designs.
Materials Needed:
- Plywood sheets
- Wood glue
- Sandpaper
- Stain or paint
- Sealant
Steps:
- Cut plywood sheets to the desired size.
- Glue and stack multiple layers for thickness.
- Sand the surface smooth.
- Apply stain, paint, or sealant.
- Secure the countertop in place.
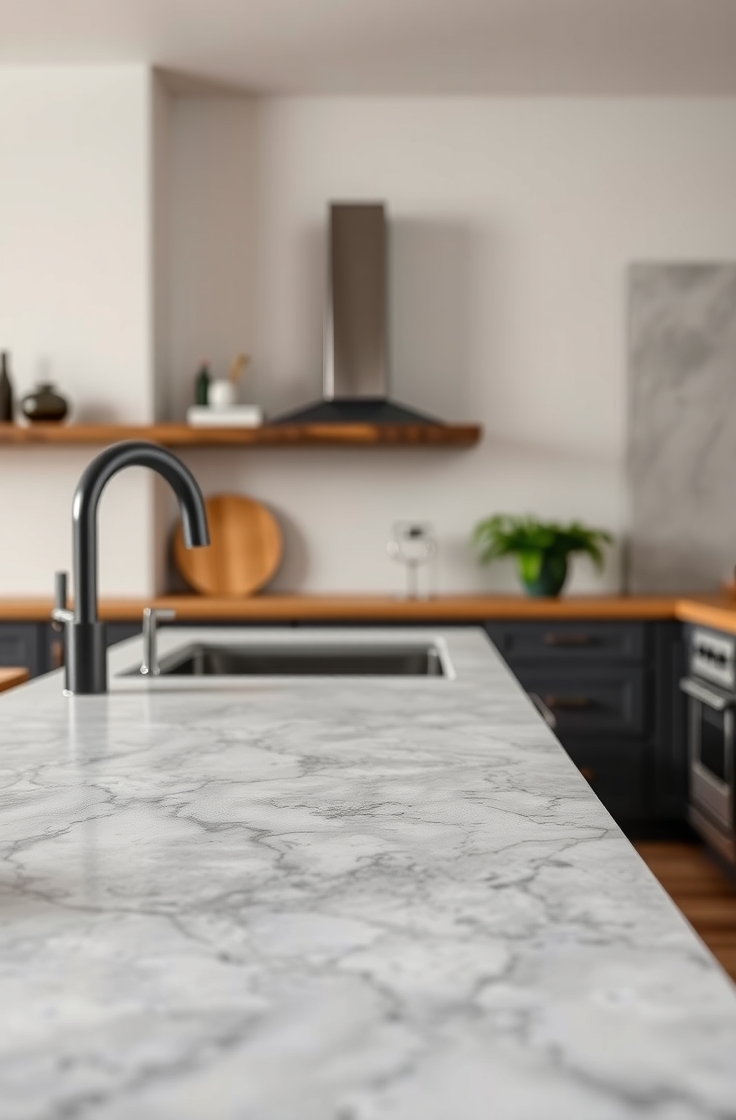
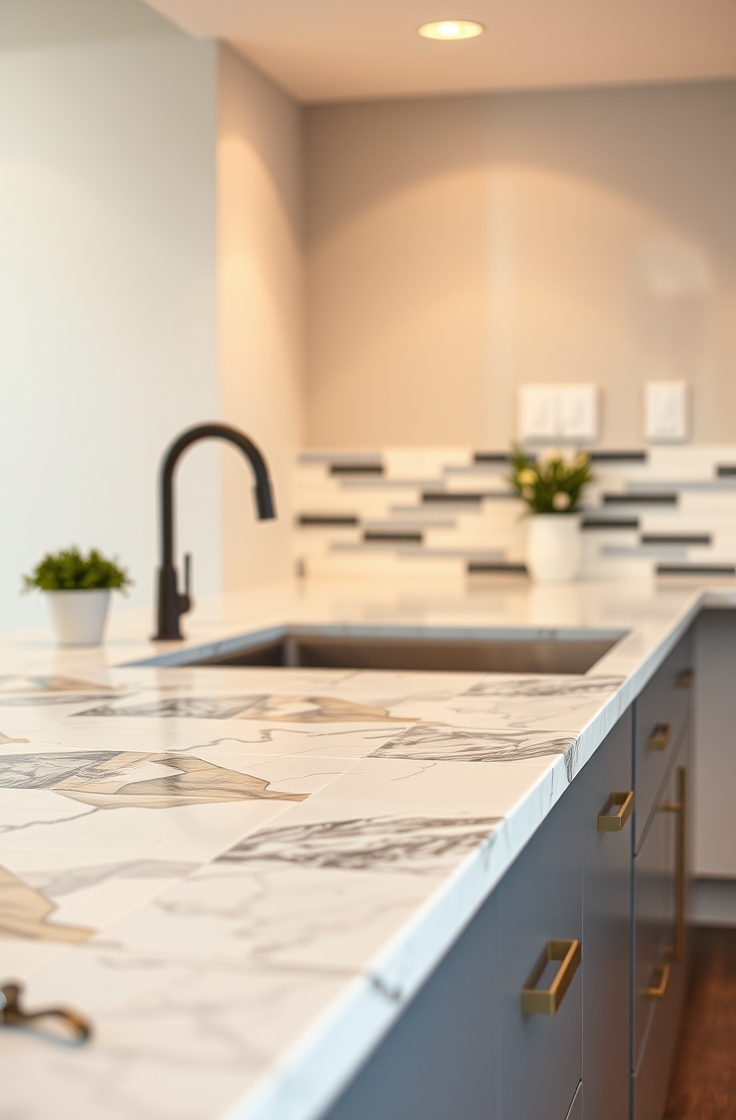
9. Stone Tile Countertops
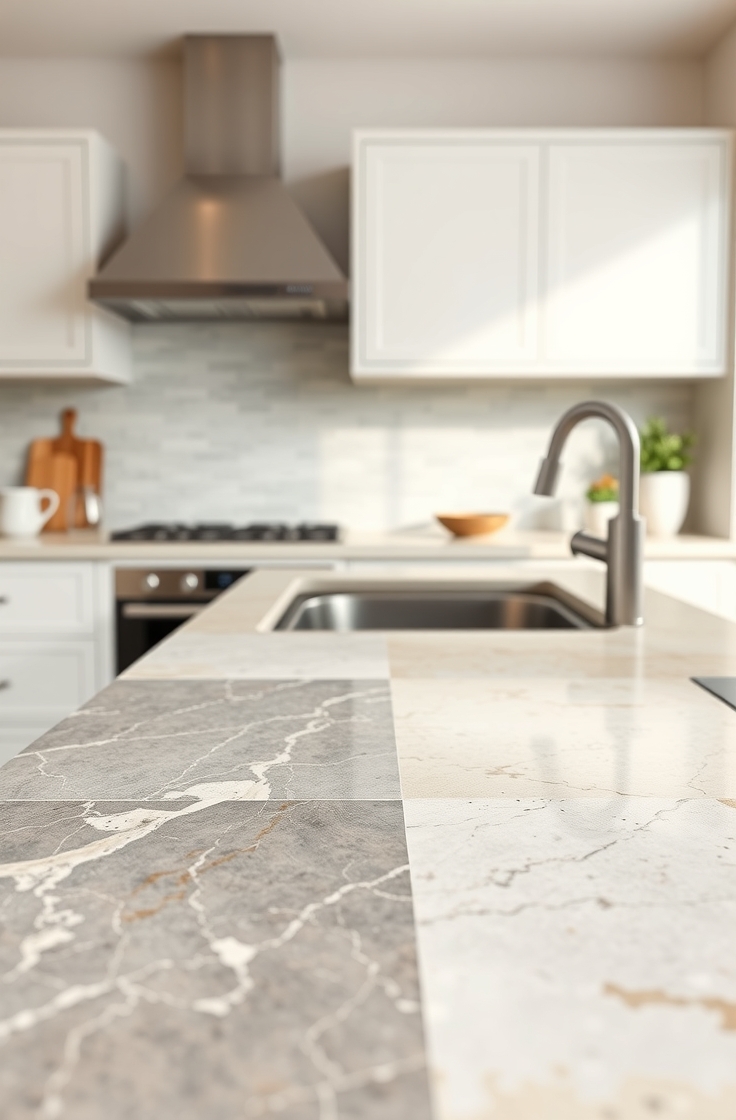
Stone tiles offer the luxury of natural stone at a lower cost. Granite, marble, or slate tiles are installed over a cement board base. Thin grout lines create a seamless look. A stone sealer protects the surface from stains and moisture. This option adds elegance without the high price tag.
Materials Needed:
- Stone tiles (granite, marble, or slate)
- Cement board
- Tile adhesive
- Grout and sealer
Steps:
- Install cement board for support.
- Apply tile adhesive and set the tiles.
- Use spacers for even grout lines.
- Fill gaps with grout and let it dry.
- Seal the tiles and grout.
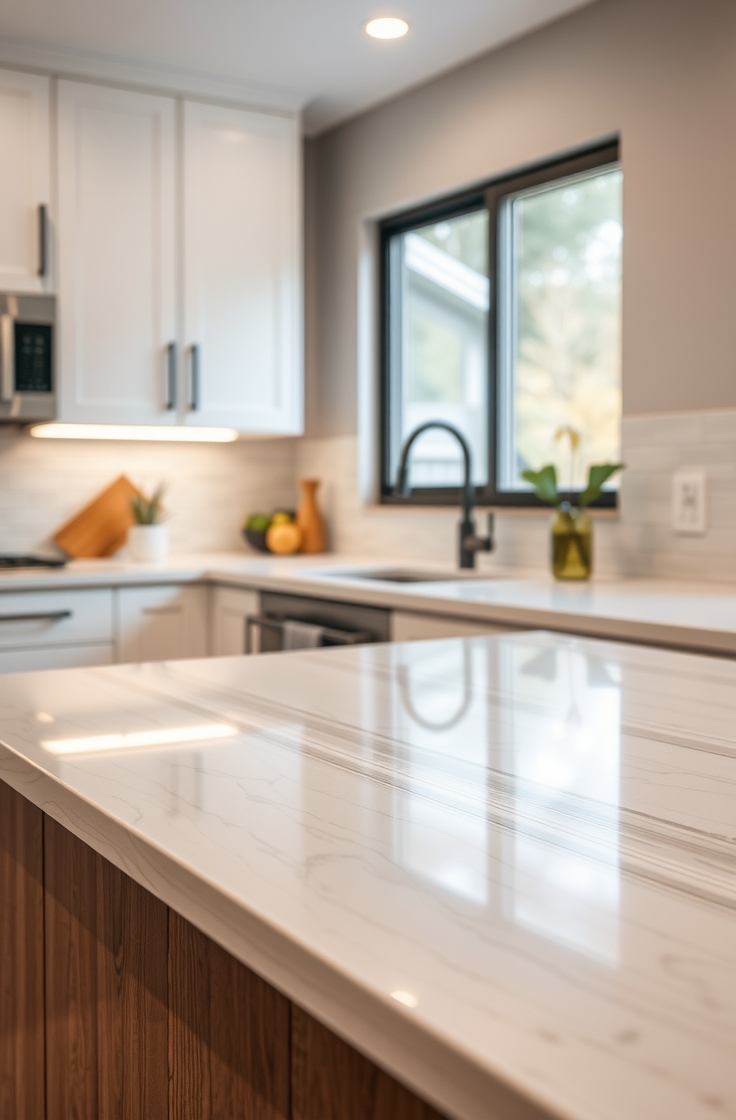
10. Painted Countertops
A fresh coat of paint transforms outdated surfaces. Special countertop paints mimic stone or solid colors. Light sanding ensures adhesion. A primer and multiple paint layers create a smooth finish. A clear topcoat provides durability. This option is an easy and affordable way to refresh any space.
Materials Needed:
- Countertop paint kit
- Sandpaper
- Primer
- Paint rollers
- Clear topcoat
Steps:
- Sand the existing countertop.
- Apply a coat of primer.
- Paint in thin, even layers.
- Let each layer dry completely.
- Seal with a clear topcoat.
FAQs
Q1: What is the most budget-friendly DIY countertop option?
Painting an existing countertop or using laminate sheets are the most affordable options. Both require minimal materials and provide a fresh, updated look at a low cost.
Q2: How long do DIY countertops last?
The lifespan depends on the material and maintenance. Butcher block and concrete countertops can last decades with proper care, while painted and laminate options may need touch-ups every few years.
Q3: Can DIY countertops handle heat and stains?
Materials like epoxy resin, concrete, and stainless steel resist heat and stains well. Wood and painted surfaces require sealing and careful maintenance to avoid damage.
Q4: Do I need special tools for DIY countertops?
Basic tools like saws, sandpaper, and adhesive are needed for most projects. More advanced projects, such as concrete or epoxy countertops, may require additional tools like molds or polishers.
Q5: What is the easiest DIY countertop for beginners?
Painting a laminate countertop or applying a peel-and-stick laminate is the simplest option. Tile countertops are also beginner-friendly with proper preparation and patience.
Now each countertop idea includes materials, steps, and a helpful FAQ section!
Conclusion
DIY countertops offer a budget-friendly way to upgrade a kitchen or bathroom. With the right materials and techniques, achieving a stylish and durable surface is possible. Choosing the right option depends on style, budget, and skill level. Each material has unique benefits, from the warmth of wood to the modern feel of stainless steel. Careful sealing and maintenance ensure longevity. Whether aiming for rustic charm or a sleek finish, a DIY countertop project can transform any space with creativity and effort.