![]()
Unleash Your Creativity: Fun DIY Craft Ideas to Try Today
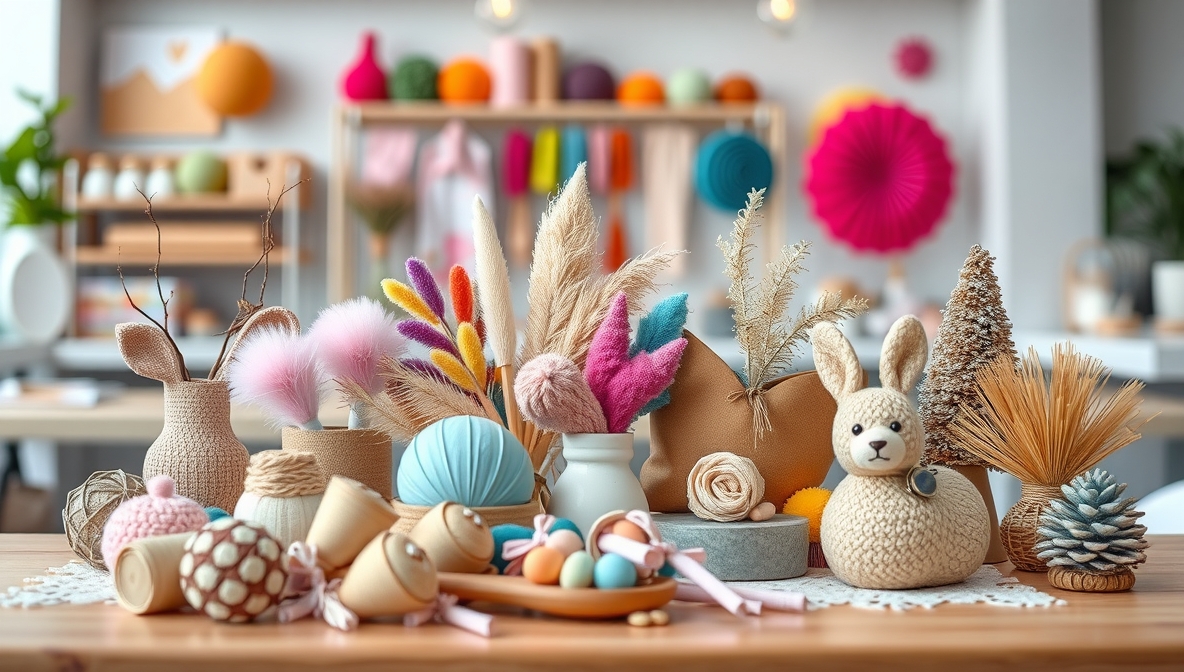
Crafting offers a unique opportunity to express your personality and style through hands-on projects. The beauty of DIY crafts lies in their endless possibilities, from simple home decor to personalized gifts that leave a lasting impression. Dive into the world of paper, fabric, and paint to explore new techniques and create something truly special.
These projects don’t require expensive materials or advanced skills—just a bit of imagination and the willingness to experiment. From upcycling everyday items to designing custom pieces, crafting allows anyone to find joy in making something with their own hands.
Embrace the satisfaction of completing a project, and let your creativity shine as you discover new ways to make your surroundings and gifts more meaningful. Get ready to roll up your sleeves and enjoy the process of crafting something truly unique.
Table of Contents
Toggle10 DIY Craft Ideas
Crafting is a great way to express your creativity and create something beautiful. Whether you want to decorate your home or give a gift, DIY crafts are the perfect way to do it. These 10 craft ideas will inspire you to start your next project, with simple materials and easy steps.
1. Painted Flower Pots
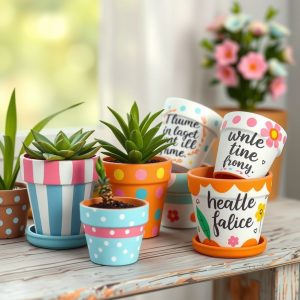
Flower pots are a blank canvas for creativity. You can paint them with colorful designs, patterns, or even your favorite quotes.
Materials:
-
Clay or plastic flower pots
-
Acrylic paint
-
Paintbrushes
-
Painter’s tape (optional)
-
Clear sealer (optional)
Steps:
-
Clean the flower pots with water to remove dust and dirt.
-
If you want a striped design, use painter’s tape to section off areas on the pot.
-
Paint the flower pot with your chosen colors. You may need to apply more than one coat.
-
Let the paint dry completely.
-
If you want to protect the paint, apply a clear sealer over the surface.
-
Add a plant to your pot and place it in your favorite space.
2. Mason Jar Lanterns
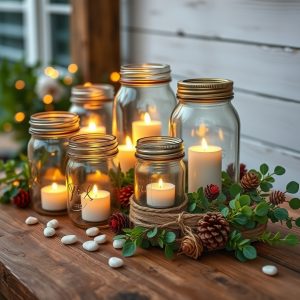
Mason jars make beautiful lanterns for outdoor spaces or even inside your home. They add a cozy touch to any room.
Materials:
-
Mason jars
-
Tea light candles or LED candles
-
Twine or ribbon
-
Hot glue gun
-
Decorative elements (e.g., beads, lace, burlap)
Steps:
-
Clean and dry your mason jars.
-
Apply a bit of hot glue to the rim of the jar and wrap twine or ribbon around it.
-
For a rustic look, you can glue burlap or lace around the jar’s body.
-
Place a tea light or LED candle inside the jar.
-
Light the candle and enjoy the soft, flickering glow.
3. Personalized Tote Bags
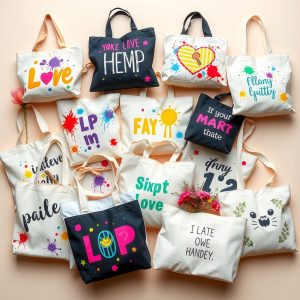
A simple tote bag can become a stylish accessory with just a few materials. You can customize it with your name, a favorite quote, or a fun design.
Materials:
-
Plain canvas tote bag
-
Fabric paint or fabric markers
-
Stencils (optional)
-
Paintbrushes
Steps:
-
Lay your tote bag flat on a surface to prevent the paint from bleeding through.
-
Use stencils or freehand a design on the bag with fabric paint or fabric markers.
-
If you’re writing a quote, measure and plan your spacing before painting.
-
Allow the paint to dry completely before using the bag.
-
Your personalized tote bag is now ready for use!
4. DIY Keychains
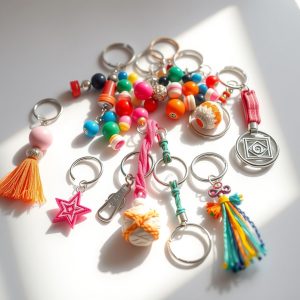
Keychains make great gifts, and they are very easy to make. You can customize them with charms, beads, or even letters.
Materials:
-
Keychain rings
-
Small beads or charms
-
Jump rings
-
Jewelry pliers
-
String or wire
Steps:
-
Cut a piece of string or wire to the desired length for your keychain.
-
Thread beads or charms onto the string or wire.
-
Use jewelry pliers to attach the string or wire to a jump ring.
-
Attach the jump ring to the keychain ring.
-
Your keychain is ready to add to your keys or bag!
5. Scrapbook
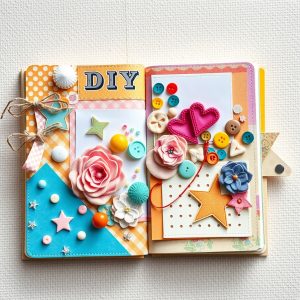
Scrapbooking is a wonderful way to preserve memories. With just a few materials, you can create beautiful pages that capture your favorite moments.
Materials:
-
Scrapbook album
-
Photos
-
Decorative paper
-
Stickers
-
Glue or double-sided tape
-
Scissors
Steps:
-
Choose the photos you want to include in your scrapbook.
-
Cut decorative paper to fit each page of your scrapbook.
-
Attach the paper to the pages with glue or double-sided tape.
-
Arrange the photos on the pages and stick them down.
-
Add stickers and other embellishments to personalize each page.
-
Continue filling your scrapbook with memories, and enjoy looking back at them!
6. Paper Flowers
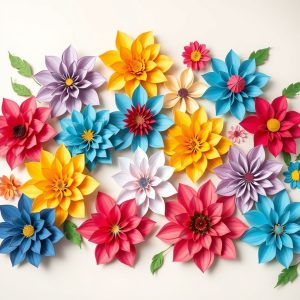
Paper flowers are an easy way to add color and beauty to any space. You can use them for party decorations, home décor, or as gifts.
Materials:
-
Colored paper
-
Scissors
-
Glue stick or hot glue gun
-
Flower templates (optional)
Steps:
-
Cut the paper into petal shapes using scissors or flower templates.
-
Fold the petals to give them some shape.
-
Layer the petals, starting with the smallest in the center.
-
Glue each layer together, securing the petals as you go.
-
Add leaves if desired by cutting green paper into leaf shapes.
-
Once complete, you can display your paper flowers in a vase or as part of a centerpiece.
7. Friendship Bracelets
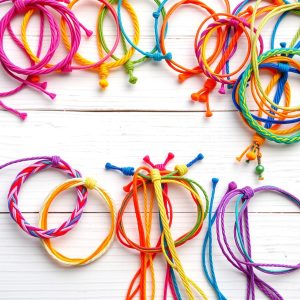
Friendship bracelets are simple to make and are perfect for sharing with friends or giving as gifts. These colorful bracelets are easy to customize with different colors and patterns.
Materials:
-
Embroidery floss or thread
-
Scissors
-
Tape or a clipboard (to hold the bracelet while you work)
Steps:
-
Cut several strands of embroidery floss to your desired length.
-
Tape the strands to a flat surface or clip them to a clipboard.
-
Begin braiding or knotting the threads into your chosen design.
-
Continue until the bracelet is long enough to fit around your wrist.
-
Tie the ends together to secure the bracelet.
8. Fabric Coasters
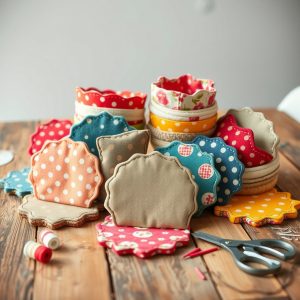
Fabric coasters are easy to make and add a personal touch to your dining table or coffee table. You can choose fabrics that match your home décor.
Materials:
-
Cotton fabric
-
Scissors
-
Felt or cork (for the backing)
-
Sewing machine or fabric glue
Steps:
-
Cut the fabric into square or circular shapes.
-
Cut a matching piece of felt or cork for the backing.
-
Sew or glue the fabric and the backing together around the edges.
-
Allow the glue to dry if you’re using fabric glue.
-
Place the fabric coasters on your table for a functional and stylish touch.
9. Upcycled Picture Frames

Old picture frames can be turned into something new with a little creativity. Paint them, decorate them with beads, or add fabric for a fresh look.
Materials:
-
Old picture frames
-
Paint or fabric
-
Beads, buttons, or decorative paper
-
Glue
-
Scissors
Steps:
-
Remove the glass and backing from the frame.
-
Paint the frame or cover it with fabric.
-
Decorate the frame with beads, buttons, or paper.
-
Let the frame dry completely.
-
Replace the glass and add a picture or use it as a decorative piece.
10. Customized Mugs
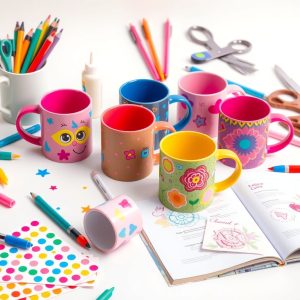
Personalized mugs are fun to make and they make great gifts. You can design your mug with paint, markers, or even stickers.
Materials:
-
Plain ceramic mugs
-
Ceramic markers or paint
-
Stencils (optional)
-
Oven (for setting the design)
Steps:
-
Clean the mug to remove any dust or oil.
-
Use ceramic markers or paint to create your design on the mug.
-
If using markers, you can add your name, a quote, or a design.
-
Allow the mug to dry completely.
-
Set the design by baking the mug in the oven at 350°F for 30 minutes.
-
After the mug cools, it is ready for use!
FAQs
What are some beginner-friendly DIY crafts? Painted flower pots, friendship bracelets, and paper flowers are great options for beginners.
Can I make crafts without special tools? Yes, many crafts like painted flower pots, friendship bracelets, and paper flowers require minimal tools.
How do I know which craft is right for me? Consider your available materials, time, and the level of complexity you are comfortable with.
How do I store DIY crafts? Store your completed crafts in a dry, cool place to preserve their quality. For items like fabric coasters or picture frames, use storage boxes or shelves.
Can I give DIY crafts as gifts? Absolutely! DIY crafts like personalized mugs, keychains, and tote bags make wonderful, thoughtful gifts.
Conclusion
DIY crafts are a fun and creative way to spend your time. With just a few materials, you can create beautiful and useful items for your home or give them as gifts. These 10 craft ideas will get you started on your crafting journey, offering simple steps that anyone can follow. Get creative, have fun, and let your imagination guide you to new and exciting DIY projects.