![]()
DIY Frame Ideas That Stand Out
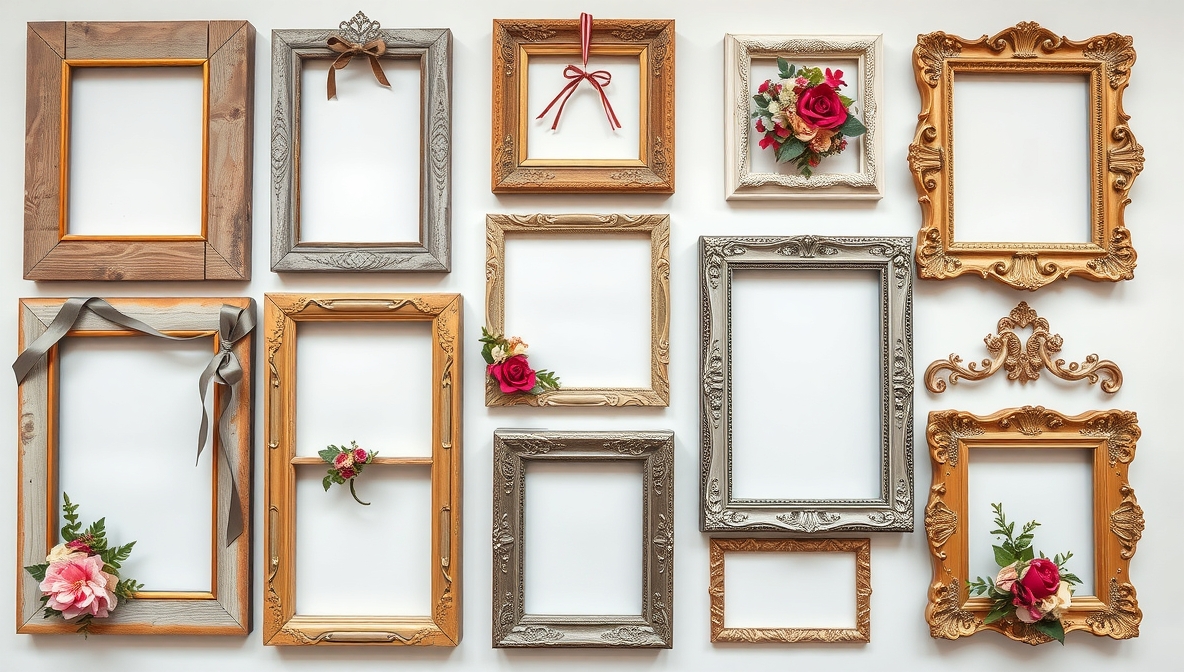
Walls speak louder with the right frame. A touch of personality in the way you display memories, art, or mirrors can completely change the vibe of a room. Store-bought options often miss the mark—too generic, too pricey, or just not quite “you.” That’s where DIY framing ideas bring the magic. With a few simple materials and a dose of creativity, you can design frames that reflect your personality, match your space, and tell your story.
From rustic wood palettes to bold geometric outlines, the options go far beyond standard squares and rectangles. Add texture with fabric, create contrast using unexpected colors, or repurpose items like old windows, books, or even bicycle tires. The beauty lies in turning everyday materials into custom treasures.
Crafting your own frames not only saves money but also gives you control over every detail. Whether you’re styling a gallery wall, highlighting a favorite quote, or framing dried botanicals, these ideas will help you think outside the box—literally. Dive into this inspiring list of DIY frame ideas and bring a personal twist to your space that no store can match.
DIY Frame Ideas
Looking for creative and budget-friendly ways to decorate your walls or gift something special? DIY frame ideas bring personal charm into your space. You don’t need fancy tools or expensive supplies. A few materials, basic skills, and a little creativity are enough to get started. Here are ten fun and easy DIY frame ideas you can try at home.
1. Popsicle Stick Frames
Simple and cheap. Popsicle stick frames are great for kids and adults. Use four or more sticks to form a square or rectangle. Glue the corners together. Once dry, paint or decorate them with stickers, washi tape, or glitter. You can even stack multiple layers for a 3D look. Insert your photo and attach a small magnet at the back to place on your fridge.
2. Cardboard Photo Frames
Don’t throw away old cardboard boxes. Cut out two same-sized rectangles and make a window in one. Glue them together with the photo in the middle. Wrap the whole frame with fabric, wrapping paper, or even comic book pages. It’s lightweight, eco-friendly, and very customizable.
3. Rustic Twine Frame
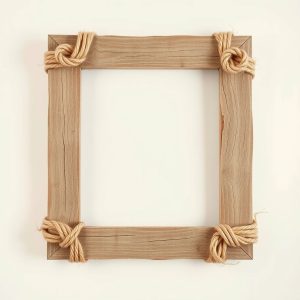
Love rustic decor? Wrap twine or jute rope around a basic frame or cardboard cutout. Start from one corner and glue as you go. You can add small clothespins to hang mini photos or cards inside. For extra charm, glue dried flowers or small wooden beads to the corners.
4. Washi Tape Frame
Want color without the mess of paint? Washi tape gives quick and clean results. Stick the tape around the border of a photo or mirror. Mix and match patterns for a bold look. Try stripes, polka dots, or floral styles. Change it anytime by peeling off the tape and trying a new design.
5. Button Frame
Gather all those spare buttons from sewing kits or old clothes. Glue them onto a plain photo frame. Arrange by color, size, or shape. Make a rainbow pattern or go full monochrome. This frame works best for children’s rooms or fun spaces.
6. Fabric Scrap Frame
Have leftover fabric pieces? Turn them into stylish frames. Cut fabric strips and glue them onto a wooden or cardboard frame. Try layering patterns for a quilted look. Add ribbon or lace for more detail. It’s a cozy touch for bedrooms or craft rooms.
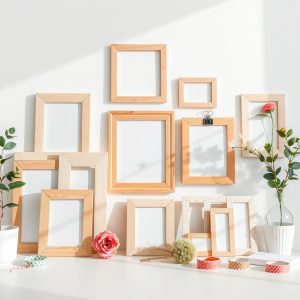
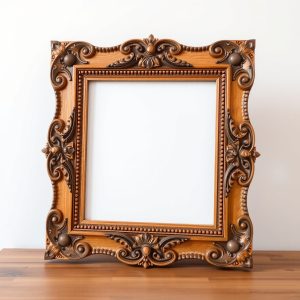
7. Painted Wooden Frame

Buy a plain wooden frame from a craft store or reuse an old one. Sand it a bit and paint it in your favorite color. Add designs like stripes, dots, or geometric patterns. You can even write a quote or name on it. Let kids paint their own for a fun family project.
8. Nature-Inspired Frame
Take a walk and collect small twigs, leaves, and pebbles. Glue them onto a frame for a natural look. You can also use pressed flowers. These frames work well with outdoor photos or nature-themed rooms. Spray with a clear sealant to make it last longer.
9. Clothespin Frame Board
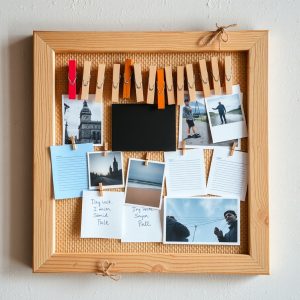
Use a wooden board or canvas. Attach a string or twine across it, then clip photos using mini clothespins. You don’t need glass or borders. It’s easy to update photos. Decorate the board with paint or stickers to match your theme. Great for offices, dorms, or as a memory board.
10. Mosaic Tile Frame
Break old tiles or use mosaic pieces from a craft store. Glue them around a photo frame, leaving small gaps between pieces. Fill the gaps with grout for a finished look. This frame adds texture and color to your wall. Choose bold tiles or soft pastels depending on your room.
FAQs
Can I make a DIY frame without using glue?
Yes, you can use tape, pins, or clips for certain designs like the clothespin board or washi tape frame.
What size photos work best for these frames?
Most ideas fit standard 4×6 inch photos, but you can adjust the size to match your needs.
Where can I get materials for DIY frames?
Check your home first. Use old boxes, buttons, fabric, or twine. Craft stores and dollar shops also offer supplies at low prices.
Are these frames strong enough to hang?
Some are light and better for shelves or fridges. Use sturdy cardboard or wood if you plan to hang them on walls.
How long does it take to make a DIY frame?
Simple ones take 15 to 30 minutes. Others like the mosaic or nature frame may take up to an hour.
Conclusion
DIY frame ideas offer a personal and affordable way to decorate or give gifts. With a bit of creativity, you can turn simple items into beautiful displays. Choose one that matches your style and start crafting today. These frames add warmth and personality to any space.