Shelf Confidence: Clever DIY Garage Shelves to Maximize Your Space

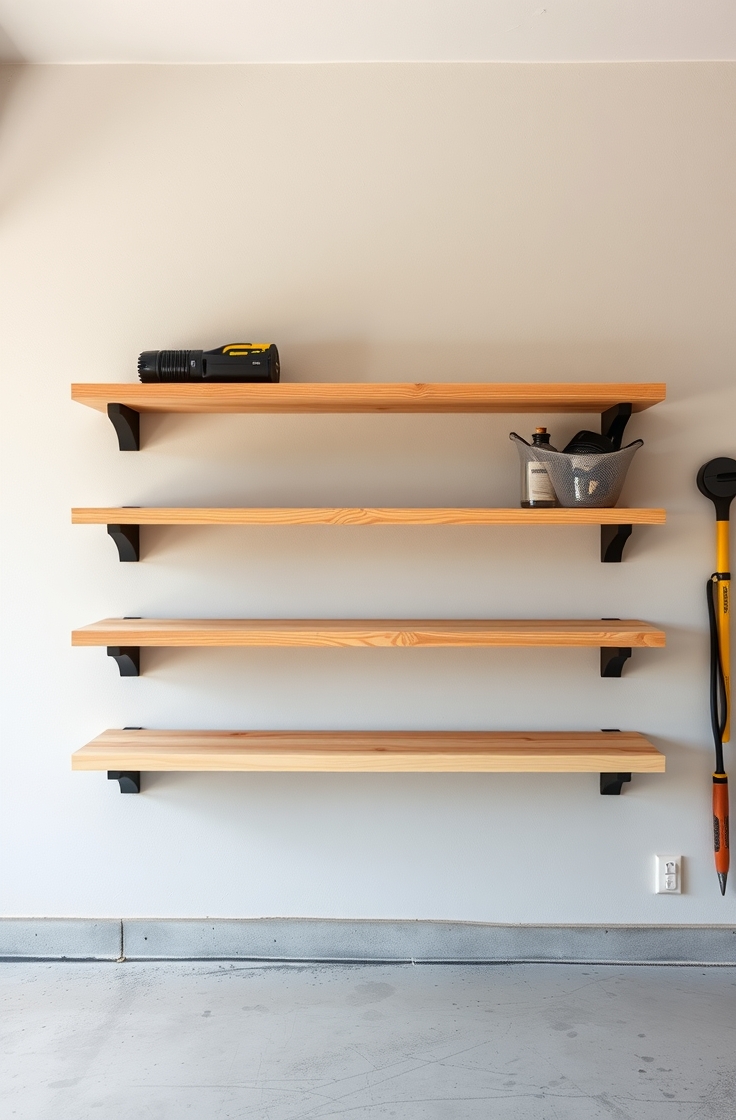
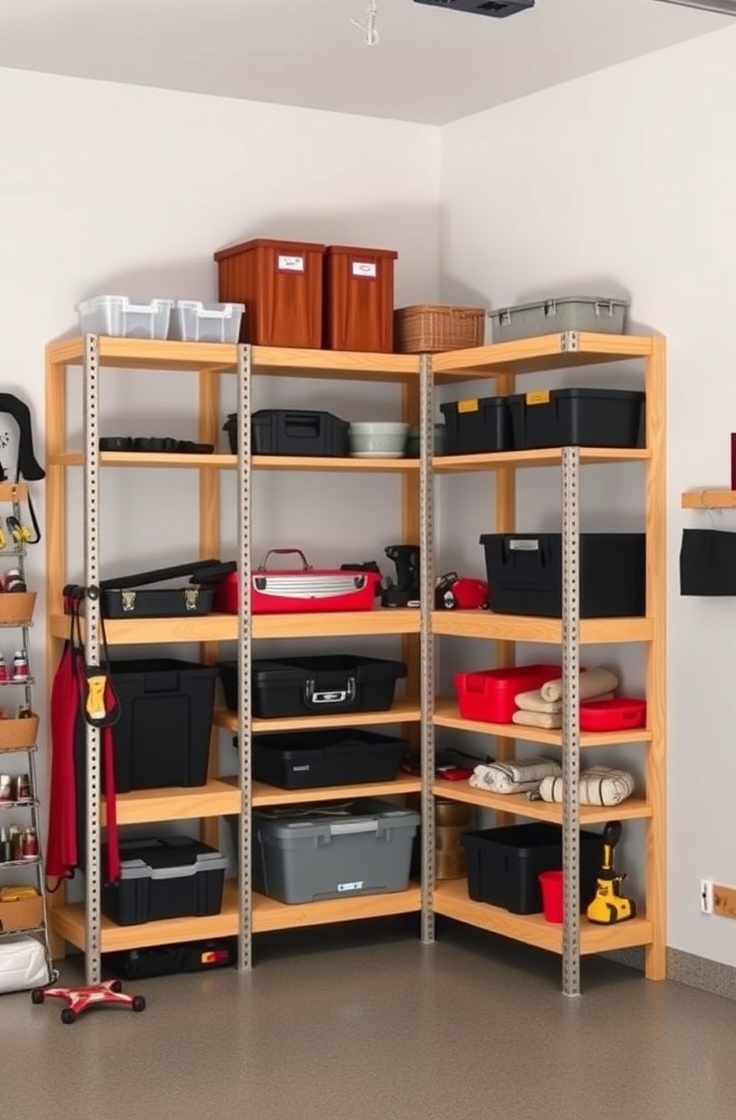
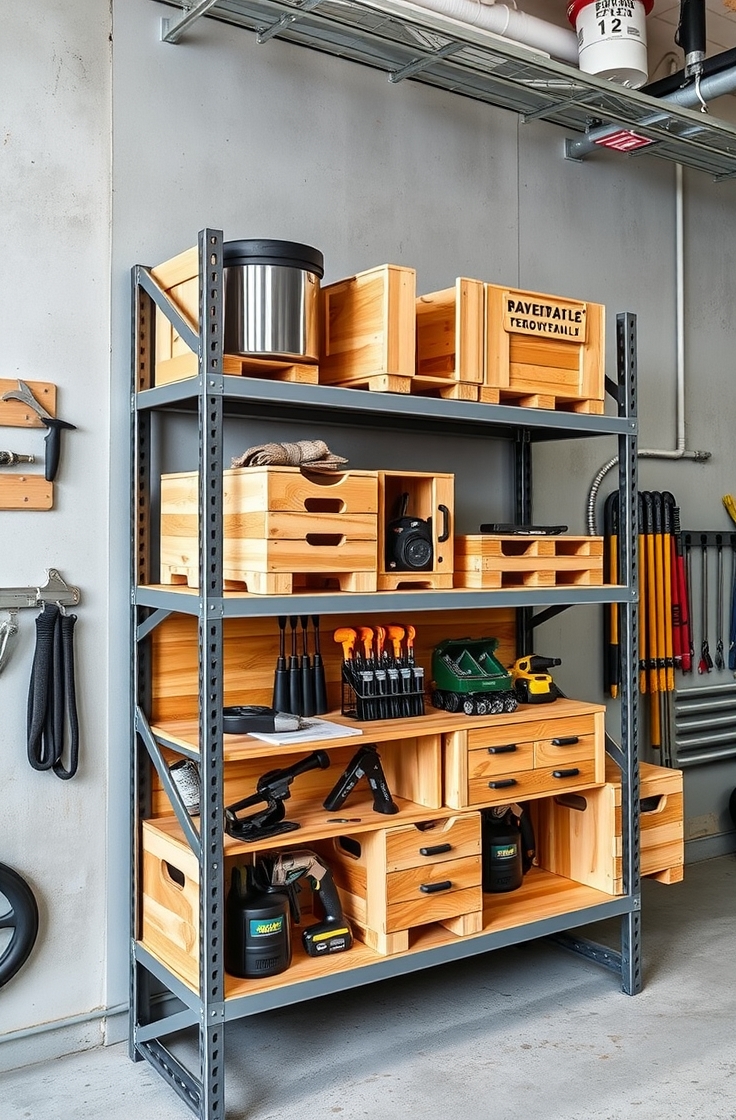
A cluttered garage doesn’t just steal space—it steals peace of mind. With the right shelving setup, even the most chaotic corners can turn into functional storage zones that work for you. Every garage holds unique potential, and building shelves tailored to your tools, gear, or weekend projects can make a massive difference.

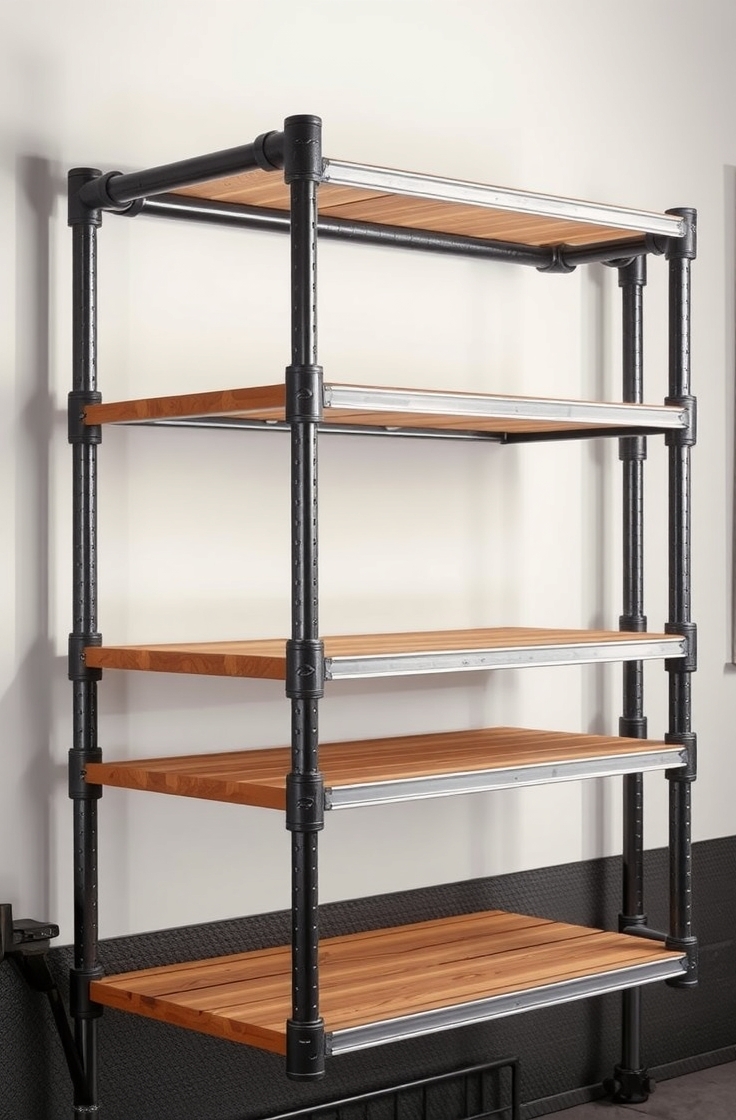
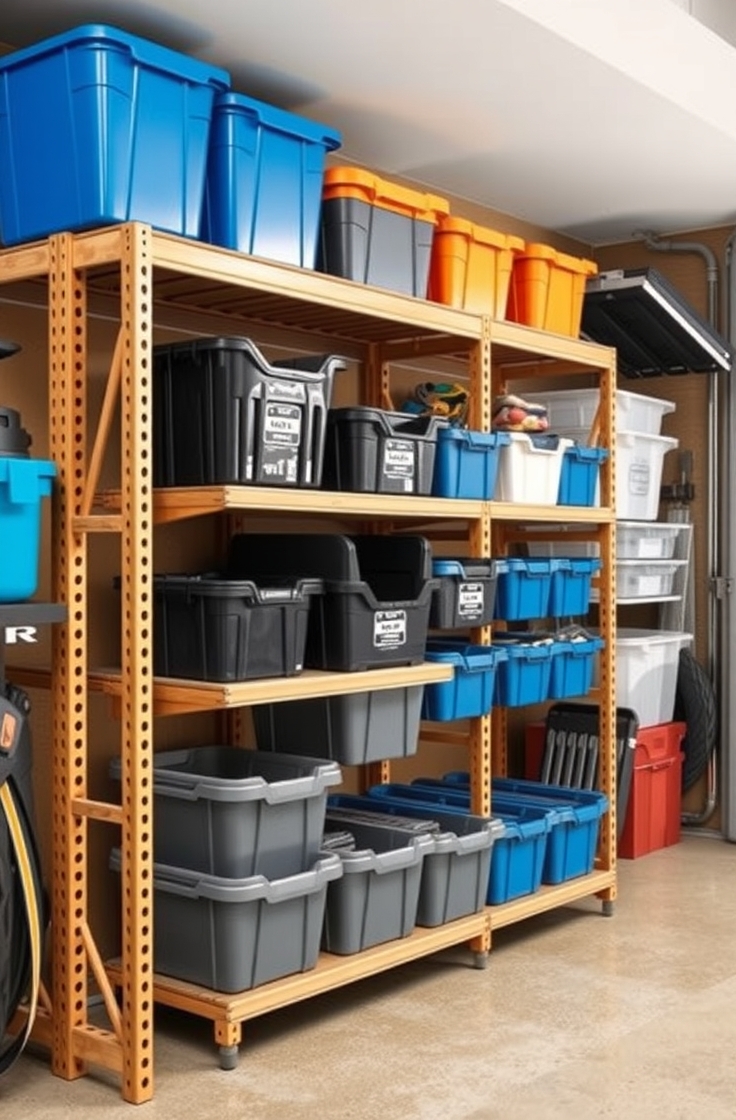
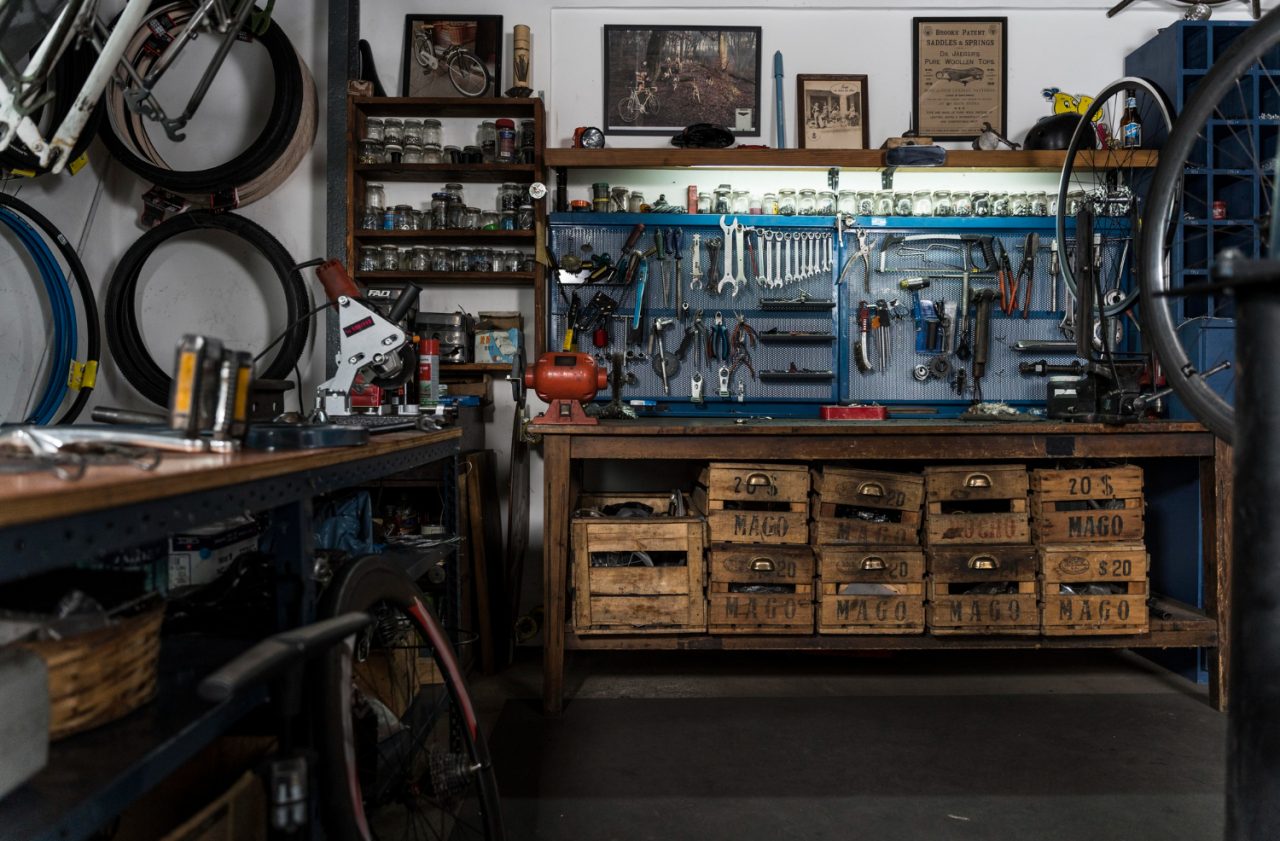
From rustic wood builds to modern metal hacks, creative shelf ideas don’t have to break the bank or demand pro-level carpentry skills. Clear floors, organized bins, and easy access start with smart design choices.

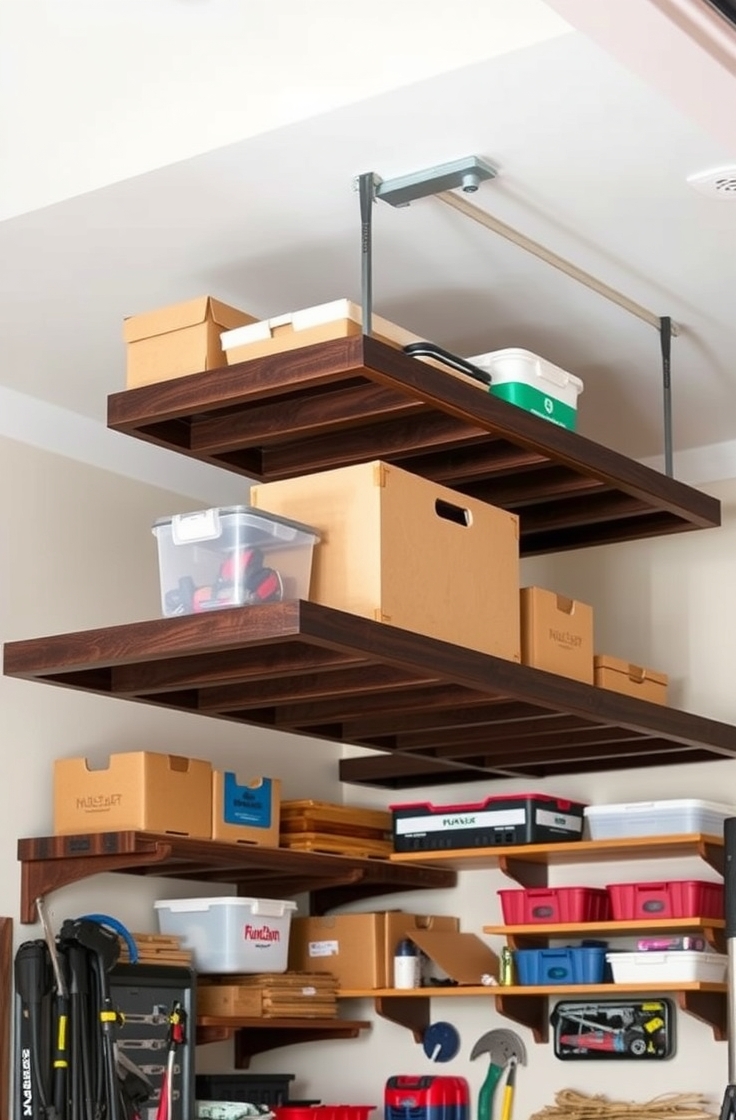
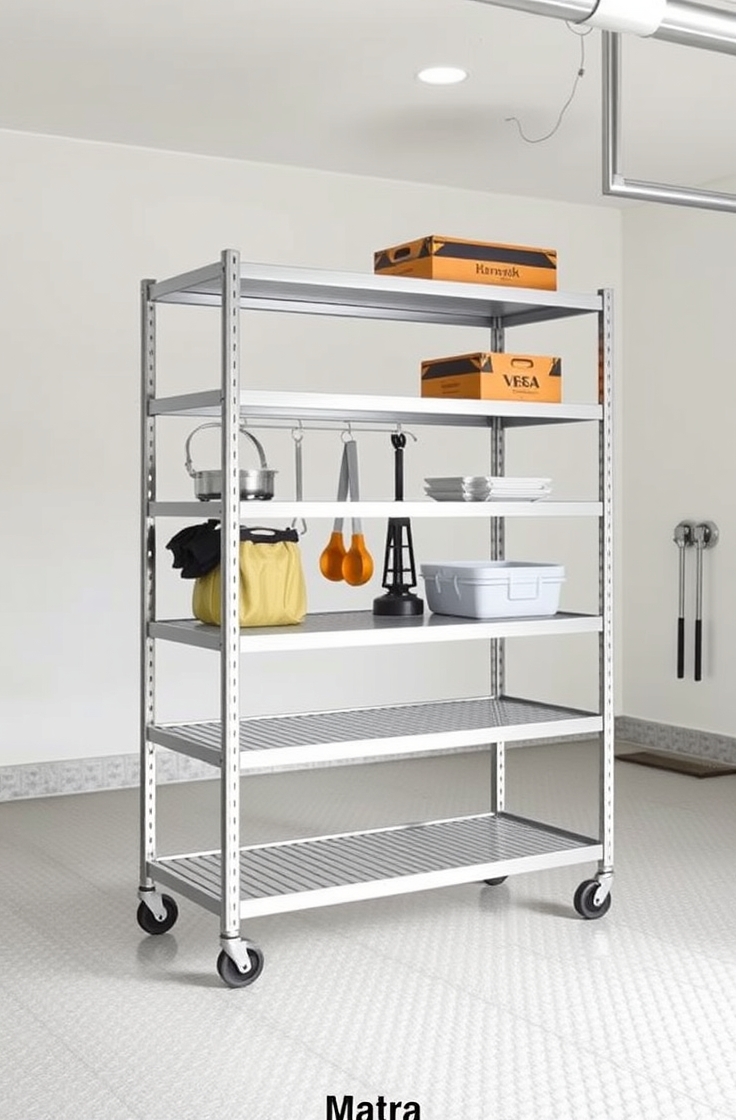
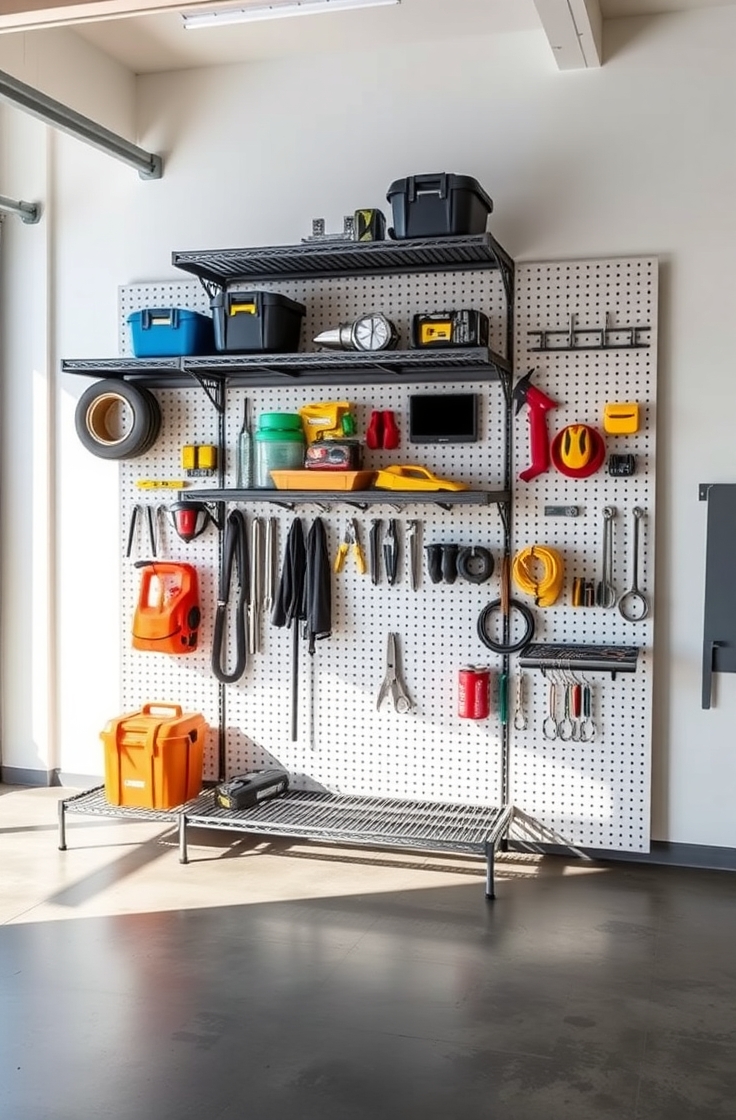
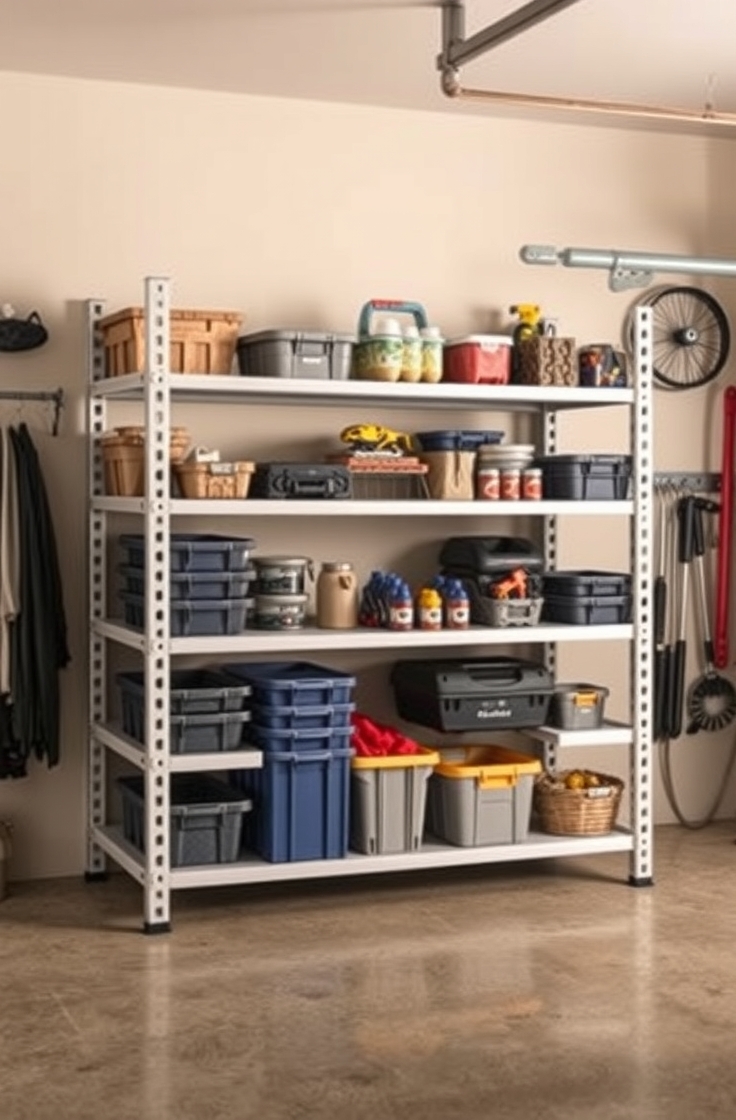
Think vertically, tuck shelves into unused nooks, or add mobile units for flexibility. The best part? Each project offers a chance to flex your DIY skills while crafting solutions that match your specific storage needs. Say goodbye to the garage chaos and hello to smart, satisfying structure. Your tools, bikes, and bins deserve a home—and you’ve got the blueprint right here.

DIY Garage Shelves Ideas

A garage can quickly turn into a mess if there is no proper storage. Things pile up. Boxes sit on the floor. Tools go missing. One simple fix? Shelving. It helps keep everything in order. And you don’t have to spend a lot of money.

You can build your own garage shelves with simple tools and materials. Here are 10 DIY garage shelf ideas that are easy to build and work well in small and large garages.


1. Simple Wall-Mounted Wood Shelves

Simple Wall-Mounted Wood Shelves

Perfect for: Everyday items like paint cans, toolboxes, and cleaning supplies.

Materials Needed:

  • 2×4 lumber (for frame)

  • Plywood or OSB boards (for shelf surface)

  • Screws

  • Wall anchors or studs

  • Drill and saw

Steps:

  1. Measure the wall space you want to use.

  2. Cut the 2x4s for the frame and supports.

  3. Attach horizontal 2x4s to the wall, screwing them into studs.

  4. Add vertical supports if needed.

  5. Cut the plywood for shelf surfaces.

  6. Place the plywood on top of the frame.

  7. Screw it down.

These shelves hold a lot of weight and are very strong.


2. Corner Garage Shelves

Corner Garage Shelves

Perfect for: Making use of unused corner space.

Materials Needed:

  • 1×2 or 2×2 lumber (for brackets)

  • Plywood sheets

  • Screws

  • Drill

  • Wall anchors

Steps:

  1. Measure the corner where the shelves will go.

  2. Cut plywood into triangle shapes to fit the corner.

  3. Cut the 1×2 or 2×2 boards for support under the plywood.

  4. Attach supports to both walls forming the corner.

  5. Place the plywood shelf on top of supports.

  6. Screw it into place.

Corner shelves are great for smaller garages. They don’t take up floor space.


3. Ceiling-Hanging Shelves

Ceiling-Hanging Shelves

Perfect for: Seasonal items or things you rarely use.

Materials Needed:

  • Plywood or metal wire racks

  • Heavy-duty hooks or eye bolts

  • Chains or metal rods

  • Drill

  • Screws

Steps:

  1. Find the ceiling joists.

  2. Drill holes and screw in the hooks or eye bolts.

  3. Attach chains or rods to the ceiling.

  4. Attach the shelf at the bottom of the chains.

  5. Check that it hangs level.

This keeps the floor clear and makes use of vertical space.


4. Rolling Garage Shelf Unit

Rolling Garage Shelf Unit

Perfect for: People who like to move their tools around.

Materials Needed:

  • 2×4 lumber (for frame)

  • Plywood (for shelves)

  • Caster wheels

  • Screws

  • Drill and saw

Steps:

  1. Build a frame using 2x4s.

  2. Cut and attach shelves using plywood.

  3. Screw in caster wheels at the bottom.

  4. Test it by moving it around.

You can store tools and move the shelf to where you’re working.


5. Heavy-Duty Metal Pipe Shelves

Heavy-Duty Metal Pipe Shelves

Perfect for: Holding heavy equipment and tools.

Materials Needed:

  • Metal pipes and flanges

  • Wood planks

  • Screws and anchors

  • Drill

Steps:

  1. Mount metal pipe flanges to the wall.

  2. Screw metal pipes into the flanges to create shelf supports.

  3. Place wooden planks over the pipes.

  4. Screw them in for extra strength.

This shelf has an industrial look and holds a lot of weight.


6. Plastic Bin Storage Shelf

Plastic Bin Storage Shelf

Perfect for: Storing small parts like nails, screws, and bits.

Materials Needed:

  • Large plastic bins

  • 2×4 lumber

  • Plywood

  • Screws

  • Saw and drill

Steps:

  1. Decide how many bins you want per shelf.

  2. Build a frame that holds the bins side by side.

  3. Add shelves spaced to fit the bins.

  4. Slide bins in and out like drawers.

Label the bins for better organization.


7. Pegboard Shelf Combo

Pegboard Shelf Combo

Perfect for: Tools like hammers, pliers, and wrenches.

Materials Needed:

  • Pegboard sheet

  • Hooks

  • Wood for shelves

  • Screws and wall anchors

Steps:

  1. Mount pegboard to the wall.

  2. Attach shelves above or below the pegboard.

  3. Add hooks to the pegboard for tools.

  4. Use bins or boxes on the shelves for other supplies.

This makes it easy to grab what you need without digging around.


8. Folding Garage Shelf

Folding Garage Shelf

Perfect for: Saving space when shelves are not in use.

Materials Needed:

  • Plywood

  • Hinges

  • 1×4 or 2×4 support arms

  • Screws

  • Drill

Steps:

  1. Mount a wooden panel to the wall using hinges.

  2. Add folding support arms underneath.

  3. Lock arms into place when shelf is open.

  4. Fold flat when not needed.

This is a smart way to store items without losing space.


9. Crate Shelf System

Crate Shelf System

Perfect for: Budget-friendly garage storage.

Materials Needed:

  • Wooden or plastic crates

  • Screws or zip ties

  • Wall anchors (if stacking on wall)

  • Brackets (optional)

Steps:

  1. Stack crates in the pattern you want.

  2. Secure crates together with screws or zip ties.

  3. Attach to the wall with brackets if needed.

  4. Store items inside each crate.

You can get crates at low cost or even for free.


10. Floating Garage Shelves

Floating Garage Shelves

Perfect for: A clean, modern look.

Materials Needed:

  • Shelf brackets or hidden shelf supports

  • Wood planks

  • Screws

  • Drill

Steps:

  1. Install shelf brackets into studs or use anchors.

  2. Place wood plank over the brackets.

  3. Screw down to keep it steady.

  4. Paint or stain the wood if you like.

These shelves are good for small garages with tight wall space.


FAQs

Q1: What type of wood should I use for garage shelves?
Use 2x4s for the frame and plywood or OSB for shelf surfaces. These are strong and cheap.

Q2: How much weight can DIY shelves hold?
It depends on how you build them. Wall-mounted shelves screwed into studs can hold hundreds of pounds.

Q3: Can I install garage shelves without drilling into walls?
Yes. Try free-standing shelves or ones that hang from the ceiling or use crates.

Q4: Are metal shelves better than wood?
Metal lasts longer in humid places. Wood is easier to cut and build.

Q5: What is the cheapest garage shelf idea?
Crate shelves or wall brackets with leftover wood are the cheapest.


Conclusion

Garage shelves don’t need to cost much or take weeks to build. With a few tools and a free afternoon, you can make your own storage. You’ll save space, find your tools faster, and avoid mess. Pick one of these 10 ideas and start building. Your garage will thank you.