![]()
Kitchen Island Magic: DIY Ideas to Elevate Your Culinary Space
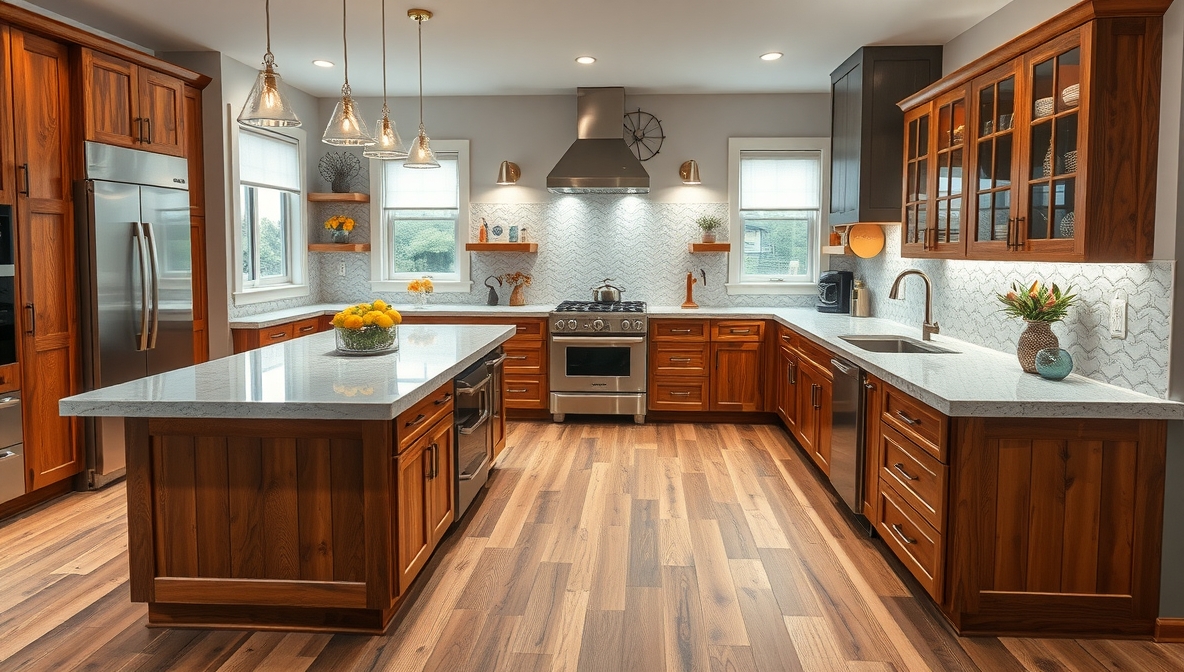
A kitchen island can serve as the heart of your home, offering both style and functionality. Small spaces gain a practical work surface, while larger kitchens enjoy a central hub for cooking, dining, and entertaining. DIY projects allow homeowners to customize islands to reflect personal tastes, blend with existing décor, and fit unique spatial layouts.
Pallets, reclaimed wood, and even old furniture pieces become the foundation for inventive designs, adding character and charm. Open shelving, built-in storage, and creative seating options enhance usability while keeping the area organized. Colorful finishes, patterned tiles, and statement hardware inject personality and make the island a focal point that draws the eye.
Budget-friendly approaches make these projects accessible, proving that elegance does not always demand a hefty price tag. Family and friends can gather around for casual meals or weekend cooking sessions, turning the kitchen into a lively, inviting space. Each island tells a story, reflecting creativity, resourcefulness, and the joy of hands-on home improvement.
10 DIY Ideas for Kitchen Islands
Kitchen islands make kitchens more functional and stylish. They give extra space for cooking, eating, and storing items. Building your own kitchen island saves money and allows creativity. Here are ten DIY ideas for kitchen islands with details, materials, and steps.
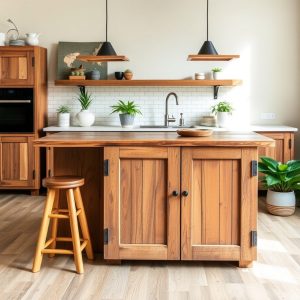
1. Wooden Pallet Kitchen Island
A wooden pallet island is cheap and rustic. Pallets give a natural look and sturdy base.
Materials:
-
3–4 wooden pallets
-
Sandpaper
-
Wood screws
-
Wood stain or paint
-
Casters (optional for mobility)
Steps:
-
Sand the pallets to remove rough edges.
-
Stack two pallets for height. Screw them together.
-
Apply paint or stain for a finished look.
-
Attach a countertop like plywood or butcher block.
-
Add casters if you want to move the island easily.
This island works well for small kitchens and adds storage under the pallets.
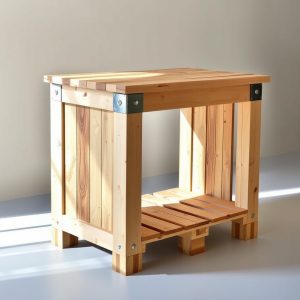
2. Kitchen Cart Island
A kitchen cart is simple, small, and versatile. It can hold pots, pans, and utensils.
Materials:
-
Wooden board for top
-
Storage shelves or crates
-
Casters
-
Screws and brackets
Steps:
-
Build a frame using the crates or shelves.
-
Attach the wooden board on top.
-
Install casters for mobility.
-
Secure shelves to store kitchen items.
A kitchen cart island is easy to move and adjust according to your needs.
3. Reclaimed Door Island
Old doors create a unique island. Each door gives a vintage charm.
Materials:
-
One or two old wooden doors
-
Sandpaper
-
Wood stain or paint
-
Table legs or sturdy base
-
Screws and brackets
Steps:
-
Sand the doors to remove old paint or dirt.
-
Attach doors to a base or legs with screws.
-
Paint or stain doors for style.
-
Place a countertop on top for extra durability.
Reclaimed doors make a stylish centerpiece and give hidden storage space.
4. Concrete Countertop Island
Concrete gives a modern and strong surface. The base can be wood or metal.
Materials:
-
Concrete mix
-
Wooden mold
-
Sandpaper
-
Sealant
-
Base frame (wood or metal)
Steps:
-
Build a mold with wood for the concrete.
-
Mix concrete and pour into the mold.
-
Smooth the surface with a trowel. Let it dry completely.
-
Apply sealant for water resistance.
-
Place the concrete top on the base frame.
Concrete islands last long and can handle heavy cooking.
5. Bookshelf Kitchen Island
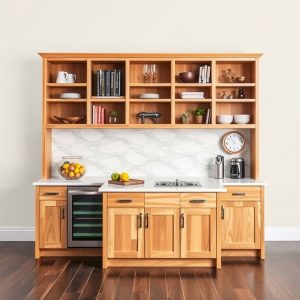
Using a bookshelf as an island adds storage and style.
Materials:
-
Sturdy bookshelf
-
Wooden countertop
-
Screws and brackets
-
Sandpaper and paint
Steps:
-
Sand the bookshelf for smooth edges.
-
Paint or stain for matching kitchen color.
-
Attach a wooden countertop on top.
-
Add hooks or baskets for extra storage.
A bookshelf island works well in small spaces and adds a creative touch.
6. Rolling Bar Cart Island
A rolling bar cart can double as a kitchen island.
Materials:
-
Bar cart with shelves
-
Wooden or marble top
-
Casters (if needed)
-
Hooks or rails for utensils
Steps:
-
Place a countertop on the bar cart.
-
Secure it with screws.
-
Add rails or hooks to hang utensils.
-
Use lower shelves for storage.
This design is flexible and easy to move around the kitchen.
7. Crate Storage Island
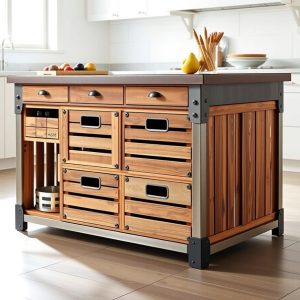
Wooden crates form a customizable island with lots of storage.
Materials:
-
4–6 wooden crates
-
Sandpaper
-
Wood stain or paint
-
Screws and brackets
-
Countertop
Steps:
-
Sand crates to remove rough surfaces.
-
Stack or arrange crates in the desired shape.
-
Screw crates together for stability.
-
Paint or stain crates.
-
Place a wooden countertop on top.
Crate islands give a rustic look and separate storage compartments.
8. Kitchen Island with Wine Rack
This island stores wine and kitchen items.
Materials:
-
Wooden frame
-
Wine rack inserts
-
Wooden countertop
-
Screws and brackets
Steps:
-
Build the frame for the island.
-
Install wine racks inside the frame.
-
Attach a countertop on top.
-
Add small shelves for extra storage.
A wine rack island combines style and functionality.
9. Stainless Steel Industrial Island

Steel gives a modern and easy-to-clean surface.
Materials:
-
Stainless steel sheet
-
Wood or metal base
-
Screws and brackets
-
Casters (optional)
Steps:
-
Build a base with wood or metal.
-
Cut stainless steel to the desired size.
-
Attach the steel top to the base.
-
Add casters if mobility is needed.
Industrial islands suit modern kitchens and are durable for heavy use.
10. Drop Leaf Island
A drop leaf island saves space and adds flexibility.
Materials:
-
Wooden base
-
Hinged drop leaf top
-
Screws and brackets
-
Sandpaper and paint
Steps:
-
Build a base for the island.
-
Attach a hinged drop leaf countertop.
-
Paint or stain for finish.
-
Add support brackets under the leaf.
Drop leaf islands expand when needed and fold down to save space.
FAQs
Q: What materials are best for DIY kitchen islands?
Wood, pallets, crates, stainless steel, and concrete are popular. Choose based on style and budget.
Q: Can I move a kitchen island easily?
Yes, adding casters makes islands mobile. Lighter materials like crates or carts move best.
Q: How much space do I need for a kitchen island?
Keep at least 36 inches around the island for walking and working comfortably.
Q: Can I add storage under the island?
Yes, shelves, crates, drawers, and wine racks fit under islands for extra storage.
Q: Is a DIY island expensive?
Cost depends on materials. Pallets and crates are cheap. Concrete and steel cost more.
Conclusion
DIY kitchen islands improve both style and function. Pallets, crates, doors, carts, and concrete create unique islands. Adding storage, mobility, or wine racks increases usefulness. Small projects like drop leaf or rolling islands save space. Pick materials and design that match your kitchen. Simple steps and creativity can transform your kitchen without spending much. A DIY island brings charm and practicality in one.