![]()
DIY Kitchen Countertop Ideas You Can Actually Do
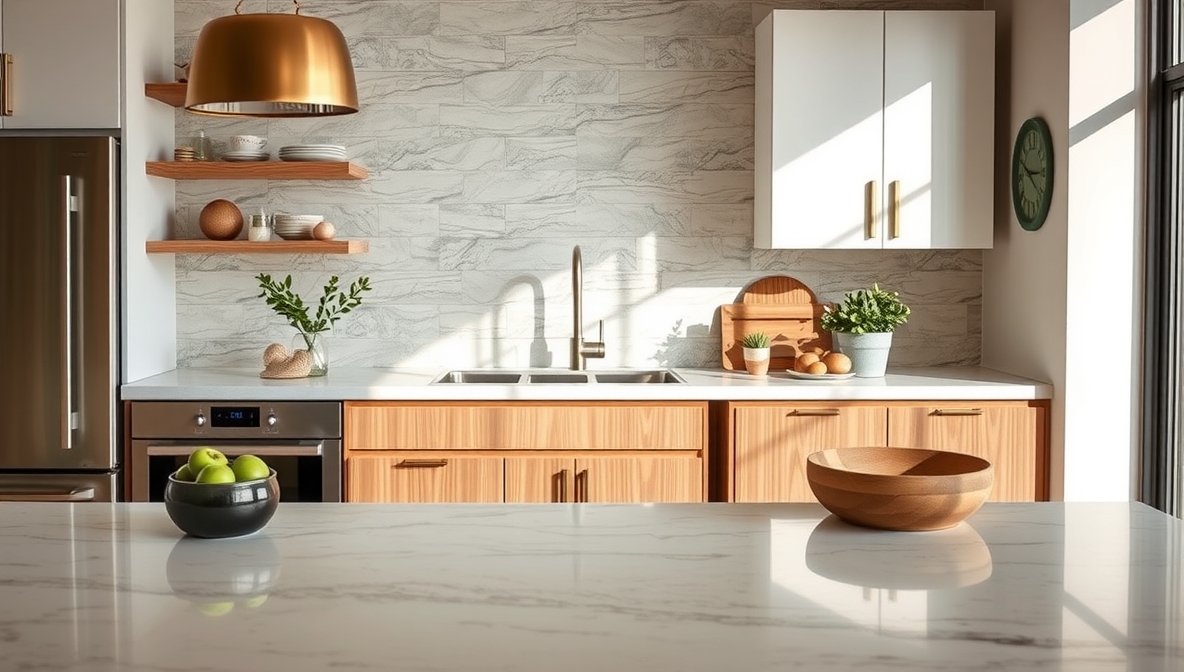
Kitchen countertops shape the personality of your space more than most realize. A splash of color, a clever material swap, or a handmade touch can instantly shift the vibe from tired to timeless—or from basic to bold. The best part? You don’t need a contractor or a five-figure budget to pull it off.
Start with concrete for a modern, industrial look that ages beautifully and holds up under pressure. Try reclaimed wood sealed with food-safe resin for warmth and character. Consider penny tiles, contact paper upgrades, or even broken ceramic mosaics for a truly artistic twist. These ideas go beyond simple surface changes; they inject creativity and soul into the heart of your home.
Most big-box stores carry everything required for these projects, and the learning curve stays surprisingly gentle. A weekend of effort can lead to a years-long payoff—both visually and practically.
This guide doesn’t just round up Pinterest-worthy projects. It shows real options with clear steps, manageable materials, and results that feel personal. Whether your style leans rustic farmhouse or urban sleek, there’s a DIY countertop idea here that fits like a glove—and doesn’t empty your wallet.
Table of Contents
Toggle10 DIY Kitchen Countertop Ideas
Upgrading your kitchen doesn’t always need a big budget. A fresh countertop can bring new life to your kitchen. And you don’t need to hire a pro. With a bit of planning and effort, you can do it yourself. Many materials work well. Some are cheap and easy to use. Others look fancy but still fit small budgets.
This guide shares ten simple DIY kitchen countertop ideas. Each idea includes what materials you need and how to do it step-by-step. These ideas work for both beginners and people with some DIY skills.
Let’s explore some easy, stylish, and budget-friendly options.
1. Concrete Countertops

Materials: Concrete mix, melamine board (for mold), caulk, screws, trowel, concrete sealer, sandpaper
Steps:
-
Build a mold using melamine boards.
-
Caulk the edges to avoid leaks.
-
Mix and pour the concrete into the mold.
-
Smooth the top with a trowel.
-
Let it cure for several days.
-
Remove the mold.
-
Sand it smooth and apply sealer.
Concrete countertops look modern and strong. You can color the concrete or add small stones or glass for a custom look. Sealing is important. It protects the surface from stains and cracks.
This style fits well in industrial or rustic kitchens. You’ll need some tools and patience, but the result is worth it.
2. Butcher Block Countertops
Materials: Wood panels (like oak or maple), wood glue, clamps, sander, mineral oil or food-safe sealant
Steps:
-
Buy pre-cut panels or glue smaller boards together.
-
Clamp them tightly until dry.
-
Sand the surface smooth.
-
Apply a food-safe sealant or oil.
-
Re-oil every few months to keep it protected.
Butcher block adds warmth to the kitchen. It feels homey and cozy. This type of counter needs care but looks better with age.
Stick with light or medium-toned woods for a fresh look. Dark wood gives a classic vibe. You can cut and shape the panels at home using basic tools.
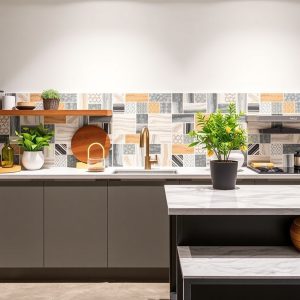
3. Tile Countertops
Materials: Ceramic or porcelain tiles, tile adhesive, grout, spacers, notched trowel, tile cutter
Steps:
-
Measure and cut backer board to fit the counter.
-
Spread tile adhesive using a trowel.
-
Set tiles with spacers in between.
-
Let the glue dry for 24 hours.
-
Fill gaps with grout.
-
Clean off extra grout and let it cure.
Tile countertops come in many colors and designs. You can create patterns or keep it simple. Some people use large tiles for fewer grout lines.
Make sure to seal the grout. That helps avoid stains and keeps the counter clean. This project is great for people who like working with patterns.
4. Laminate Countertops
Materials: Laminate sheets, contact cement, j-roller, trimming router, plywood base
Steps:
-
Cut plywood for the base.
-
Spread contact cement on both the plywood and laminate.
-
Wait for it to dry slightly.
-
Press laminate onto the base using a j-roller.
-
Trim the edges with a router.
-
Seal the edges with matching tape or caulk.
Laminate is lightweight and comes in many colors. You can find ones that look like marble or wood. It’s cheap and easy to clean.
You don’t need heavy tools for this. Just follow the steps slowly and it’ll look neat. Great for rental homes or low-cost upgrades.
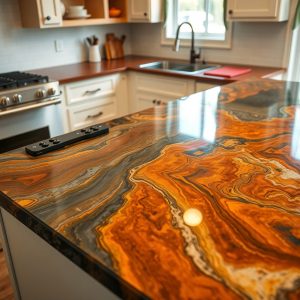
5. Epoxy Resin Over Old Countertops
Materials: Epoxy resin kit, mixing buckets, heat gun, paint or color powder (optional), painter’s tape
Steps:
-
Clean the old countertop well.
-
Tape off edges and nearby walls.
-
Mix the resin as per the package.
-
Pour it over the surface and spread it evenly.
-
Use a heat gun to remove bubbles.
-
Let it cure for 2–3 days.
Epoxy gives a shiny, glass-like finish. You can swirl in colors to make it look like marble. Or leave it clear for a clean look.
This method covers old countertops fast. No need to remove them. Be sure to wear gloves and work in a well-ventilated space.
6. Recycled Wood Countertops
Materials: Old wooden planks, sander, wood glue, nails or screws, wood filler, sealant
Steps:
-
Collect wood from pallets, barns, or old furniture.
-
Remove nails and sand off old paint.
-
Glue and nail the pieces together.
-
Fill any gaps or holes with filler.
-
Sand again until smooth.
-
Seal with water-resistant coating.
This countertop idea is eco-friendly and cheap. It gives your kitchen a rustic, farmhouse look. You can even stain the wood for a deeper color.
Each piece of wood tells a story. No two counters look the same. It works best in cozy kitchens or cottages.
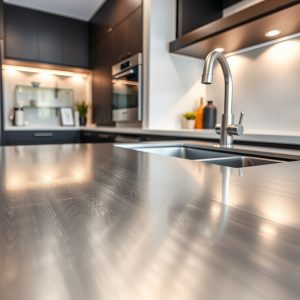
7. Stainless Steel Countertops
Materials: Stainless steel sheet, plywood base, contact adhesive, metal cutter, hammer and block of wood
Steps:
-
Build a base from plywood.
-
Cut the steel sheet to size.
-
Apply adhesive to both plywood and steel.
-
Press the steel onto the base.
-
Fold down the edges and tap with a block of wood.
-
Smooth out any bumps.
Stainless steel looks clean and professional. It’s heat and stain resistant. That’s why chefs love it.
It fits modern kitchens. And it’s very easy to clean. Just wipe and it’s done. One tip: keep fingerprints away by using a soft cloth and cleaner.
8. Paint Over Laminate Countertops
Materials: Sandpaper, primer, countertop paint, topcoat, foam roller
Steps:
-
Sand the laminate to roughen the surface.
-
Apply primer and let it dry.
-
Roll on countertop paint in two coats.
-
Let each coat dry well.
-
Apply a topcoat to seal it.
Painting is the cheapest way to refresh a counter. Use special paint for countertops. It’s made to handle heat and spills.
Choose light or neutral colors for a clean look. Or go bold with dark colors. Just avoid scrubbing the surface too hard after painting.
9. Penny Countertops
Materials: Lots of pennies, clear epoxy resin, glue, sander, plywood, border trim
Steps:
-
Glue pennies flat onto plywood.
-
Create a trim around the edge.
-
Pour resin over the pennies.
-
Use a heat gun to pop bubbles.
-
Let it cure for two days.
This one is fun and eye-catching. Pennies give a copper glow. You can use all shiny coins or mix old and new.
It’s a creative project and a good way to reuse coins. The result is smooth and shiny. And a great talking point in your kitchen.
10. Faux Marble Contact Paper
Materials: Marble-look contact paper, utility knife, ruler, squeegee, cleaner
Steps:
-
Clean the old counter.
-
Cut contact paper to size.
-
Peel and stick slowly, smoothing out air bubbles.
-
Cut edges neatly with a knife.
-
Press down hard along corners and seams.
Contact paper is fast and cheap. It’s peel-and-stick. No mess, no tools. Use it on rentals or short-term fixes.
Choose thicker brands that last longer. You can find styles that look like marble or granite. Just wipe clean and avoid cutting directly on it.
FAQs
Q: Which DIY countertop is easiest for beginners?
Painting or using contact paper are the easiest. Both need very few tools and take only a few hours.
Q: Are concrete countertops hard to make?
They need more time and steps. But with clear instructions and patience, they’re doable even for first-timers.
Q: How long do epoxy counters last?
With good care, epoxy countertops last many years. Keep hot pots off them and clean spills fast.
Q: Can I put tile over old laminate?
Yes, just use a tile backer board over the old surface before adding tiles.
Q: How do I maintain butcher block counters?
Use food-safe oil every month. Wipe up spills fast. Don’t let water sit too long.
Q: Is stainless steel noisy?
Yes, a bit. You can add rubber mats under the plywood to reduce the sound.
Conclusion
DIY kitchen countertops offer a fresh look without spending much. You can go rustic, modern, or creative. There’s a style for every taste and budget. Some projects take only a day. Others need more effort.
Each of the ten ideas in this post brings something special. Whether it’s the warmth of wood, the shine of epoxy, or the charm of old pennies.
Start with the idea that fits your skill and budget. Gather your tools. Follow the steps. And enjoy the feeling of doing it yourself.
A simple countertop change can make your kitchen feel brand new. You’ve got this.