![]()
DIY Picture Frame Ideas to Add Charm and Creativity to Any Space
DIY Picture Frame Ideas
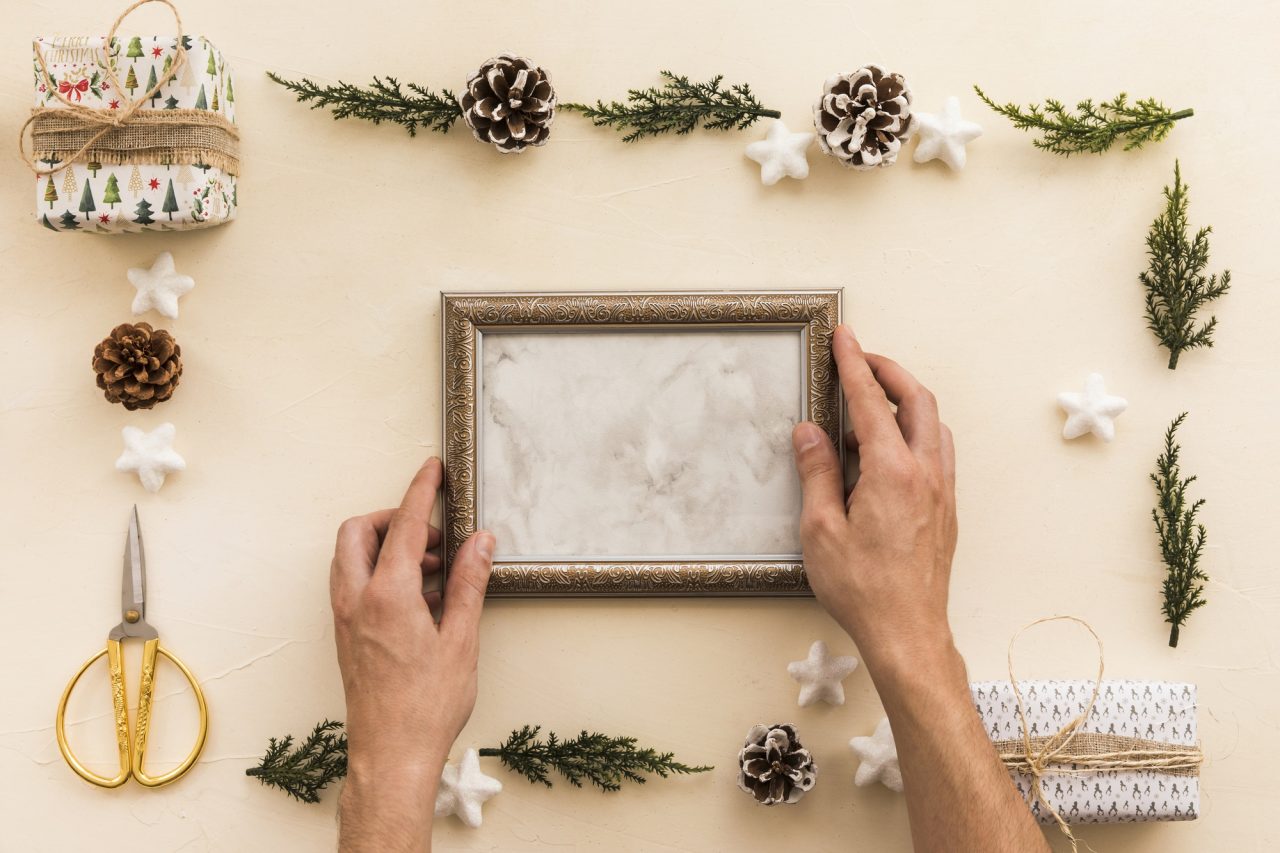
Displaying photos in a unique way adds charm to any space. A custom picture frame makes the display even more special. Handmade frames give a personal touch and are often budget-friendly. Instead of buying expensive frames, creating one at home allows for creativity and customization. Whether using recycled materials or crafting something completely new, DIY picture frames add warmth to your home decor.
Here are ten creative DIY picture frame ideas that are easy to make at home.
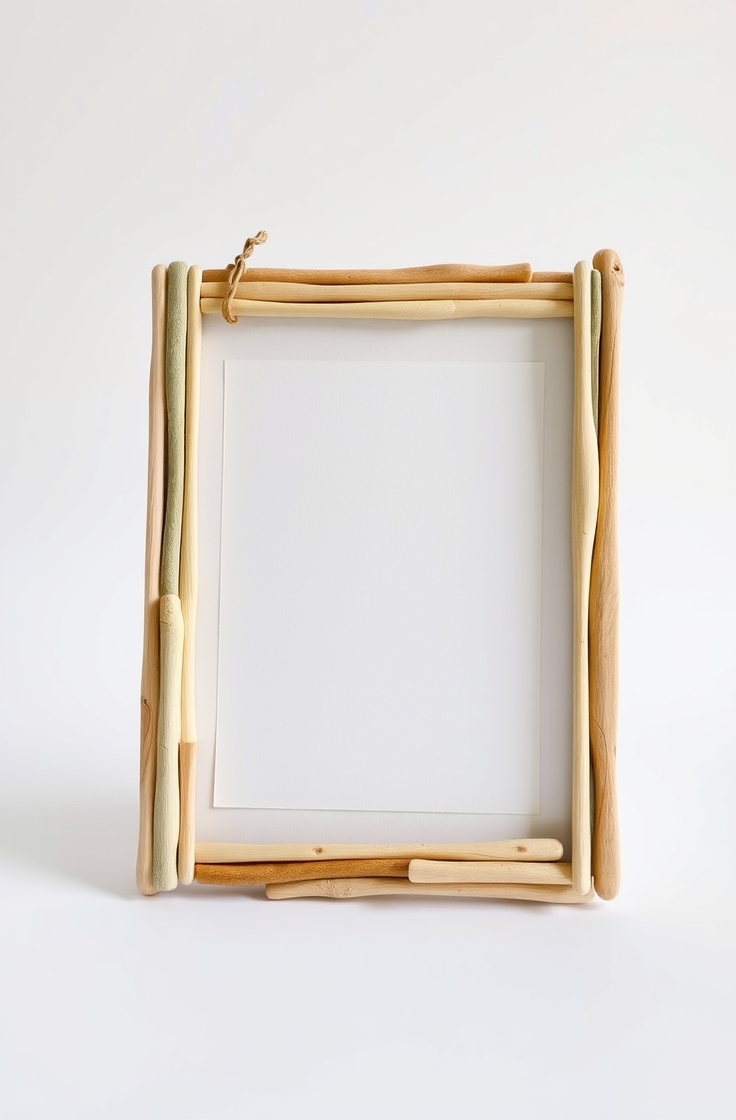
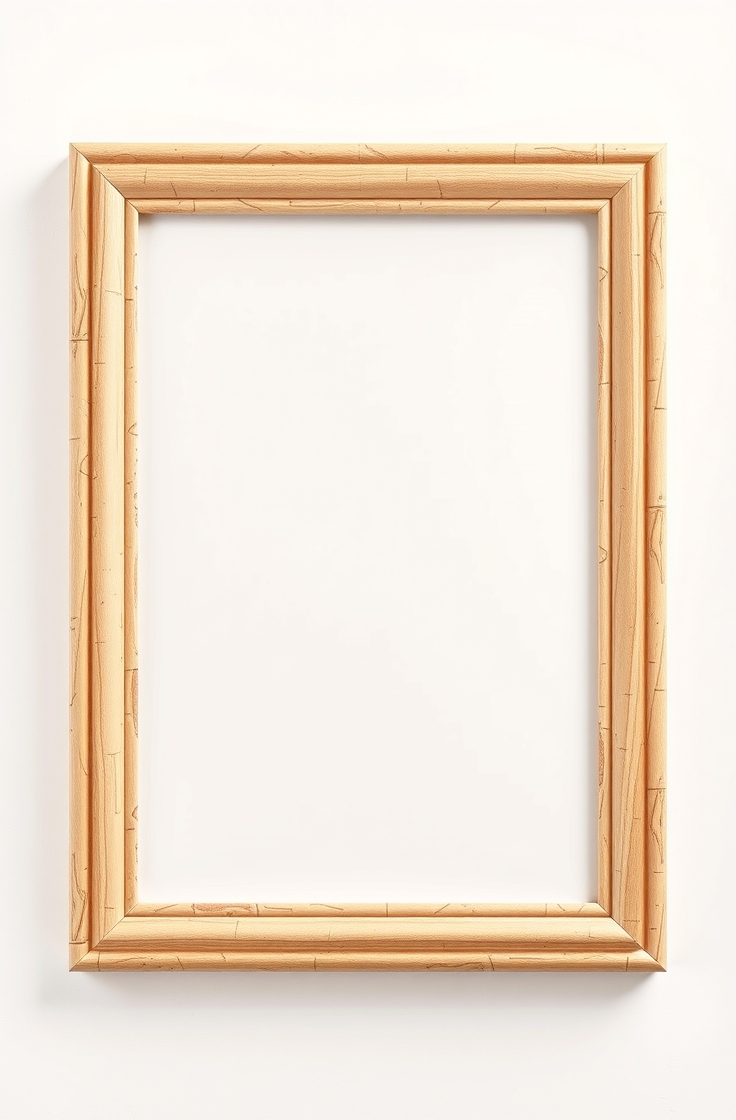
1. Rustic Wooden Frame
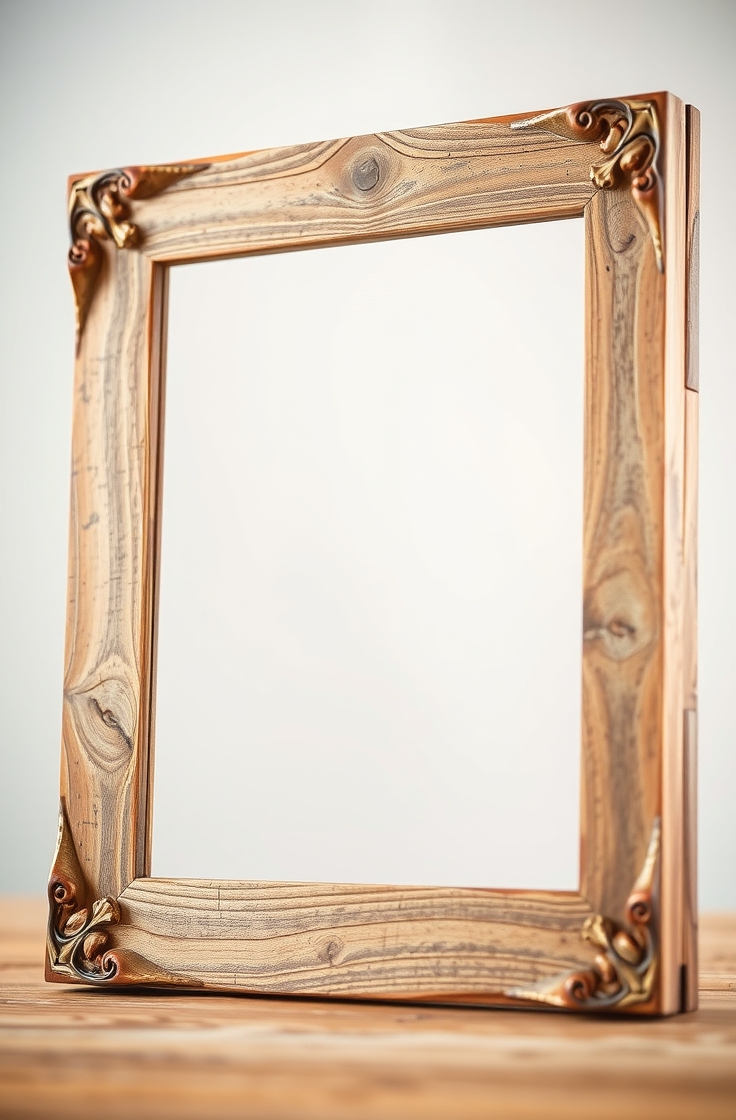
A rustic wooden frame brings a natural and vintage look to any room. This type of frame works well with family photos, nature prints, or artwork.
Materials:
- Reclaimed wood or wooden sticks
- Wood glue or nails
- Sandpaper
- Saw
- Stain or paint (optional)
Steps:
- Cut four pieces of wood to the desired frame size.
- Sand the edges to remove splinters.
- Attach the pieces together using glue or nails.
- Stain or paint for a finished look.
- Attach a photo using clips or a backing board.
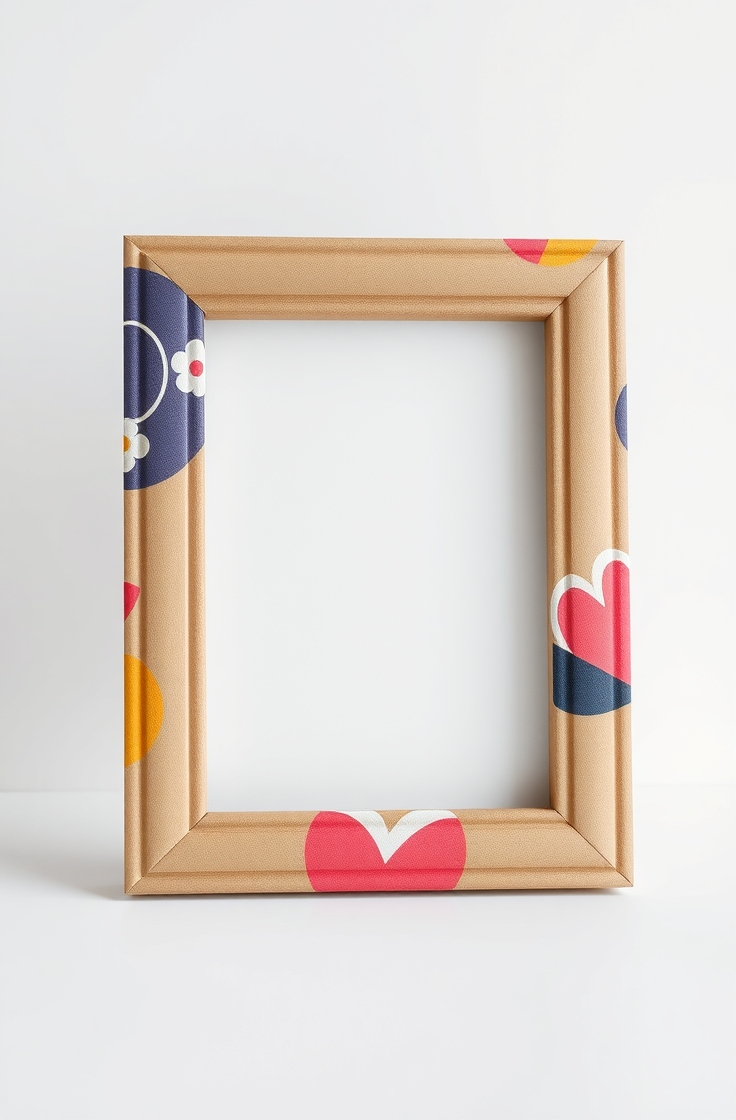
2. Washi Tape Frame
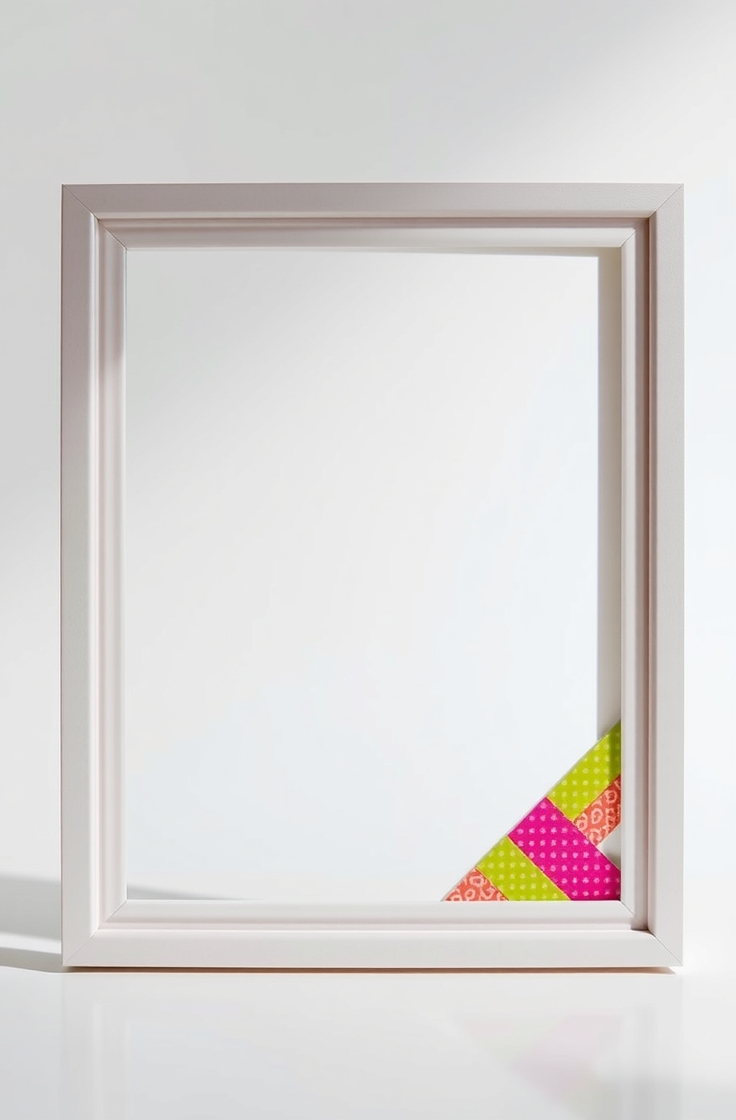
A washi tape frame is a simple and colorful way to decorate pictures. This option is great for kids’ rooms or craft areas.
Materials:
- Plain photo frame or cardboard
- Washi tape in different patterns
- Scissors
Steps:
- Cut cardboard to your desired frame shape.
- Cover the edges with colorful washi tape.
- Layer different patterns for a unique look.
- Attach the photo with double-sided tape.
- Display using adhesive strips or a stand.
3. Clothespin Frame
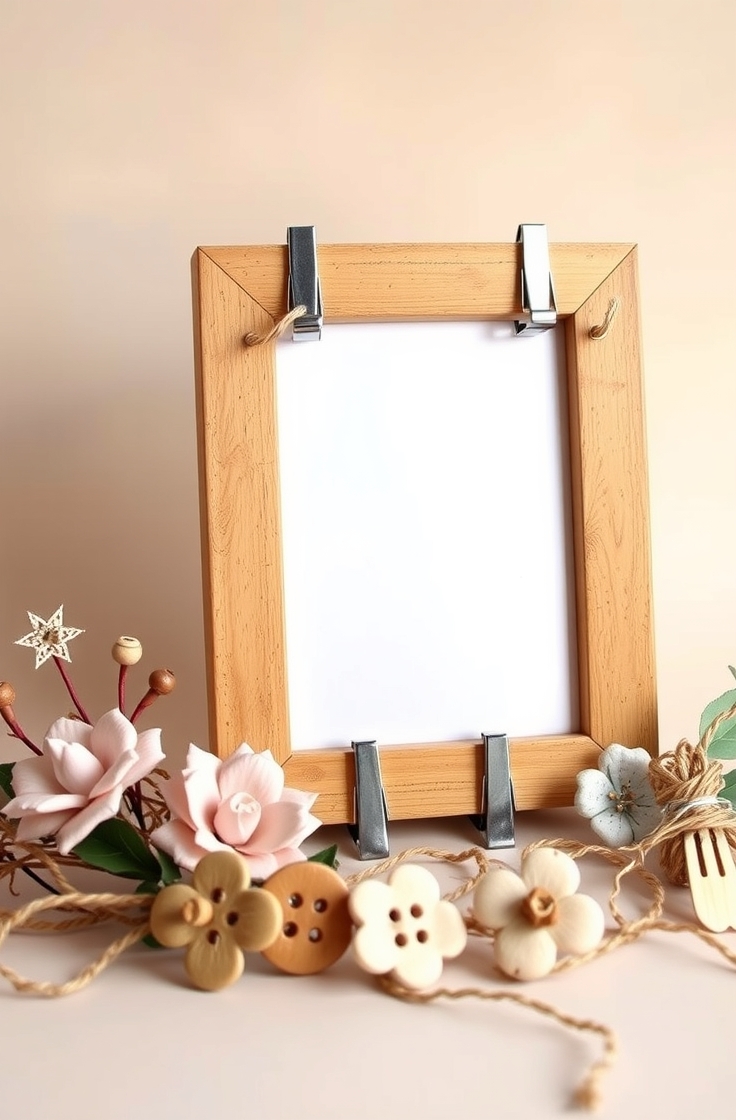
A clothespin frame is a flexible and fun way to display multiple pictures. It allows for easy swapping of photos whenever needed.
Materials:
- Wooden board or a wire hanger
- Clothespins
- Twine or wire
- Paint (optional)
Steps:
- Paint the clothespins if desired.
- Attach twine or wire across the board.
- Clip photos onto the twine with clothespins.
- Hang on a wall or place on a shelf.
4. Rope-Wrapped Frame
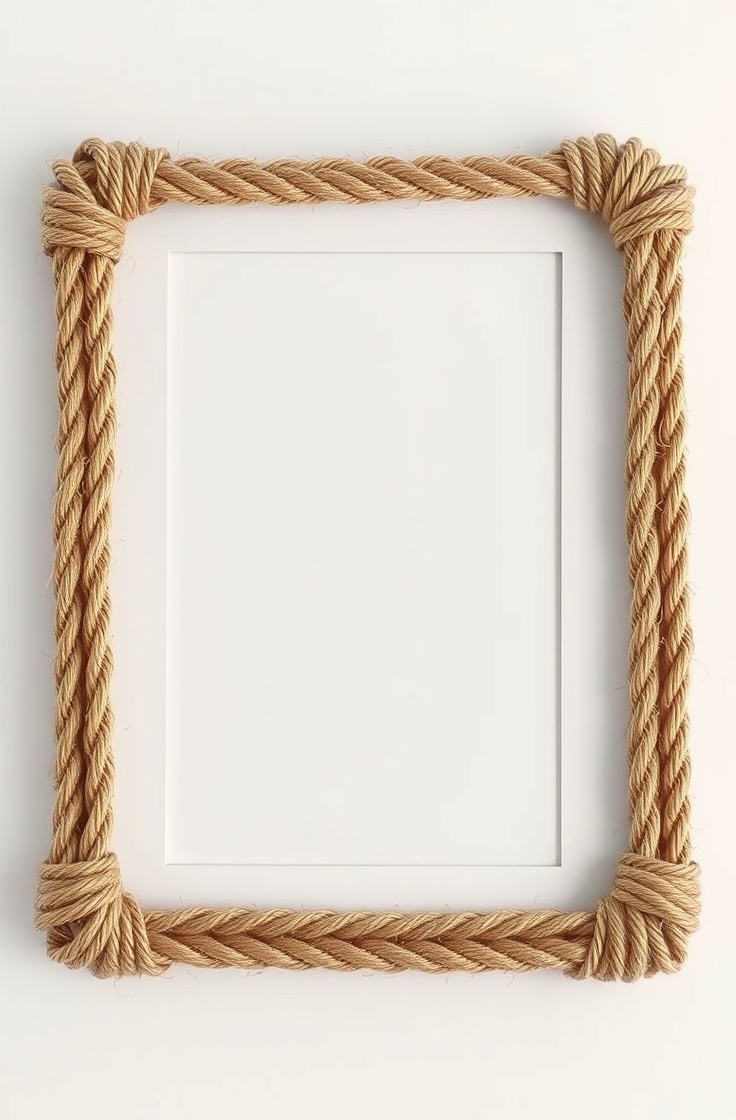
A rope-wrapped frame adds a coastal or farmhouse-style touch to a room. It works well with beach-themed decor.
Materials:
- Plain frame or cardboard
- Rope or twine
- Hot glue gun
Steps:
- Apply glue along the edges of the frame.
- Wrap rope around the frame tightly.
- Secure the ends with more glue.
- Let dry and insert the photo.
5. Cardboard and Fabric Frame
A fabric-covered frame adds softness and texture to any picture. This is a great way to use leftover fabric scraps.
Materials:
- Thick cardboard
- Fabric scraps
- Glue
- Scissors
Steps:
- Cut cardboard into a frame shape.
- Wrap it with fabric and glue in place.
- Smooth out wrinkles and let dry.
- Insert the picture and hang it.
6. Popsicle Stick Frame
A popsicle stick frame is an easy and fun project for kids. It is lightweight and can be decorated in many ways.
Materials:
- Popsicle sticks
- Glue
- Paint or markers
Steps:
- Arrange the sticks into a square or rectangle.
- Glue the corners together.
- Paint or decorate as desired.
- Attach the photo to the back.
- Hang or display on a shelf.
7. Seashell Frame
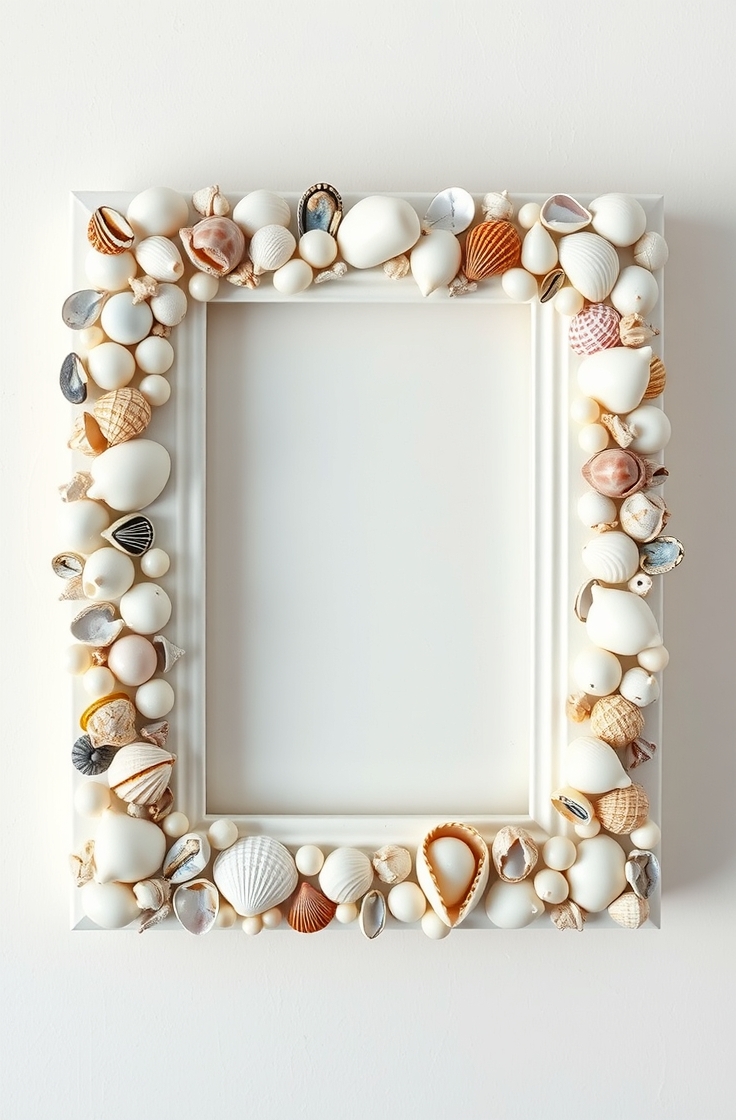
A seashell frame brings a coastal vibe to any space. It is perfect for vacation photos or beach-themed rooms.
Materials:
- Plain wooden frame
- Seashells
- Glue gun
- Sand (optional)
Steps:
- Glue seashells onto the frame’s edges.
- Fill small gaps with sand if desired.
- Let dry completely before inserting the photo.
8. Newspaper or Magazine Frame
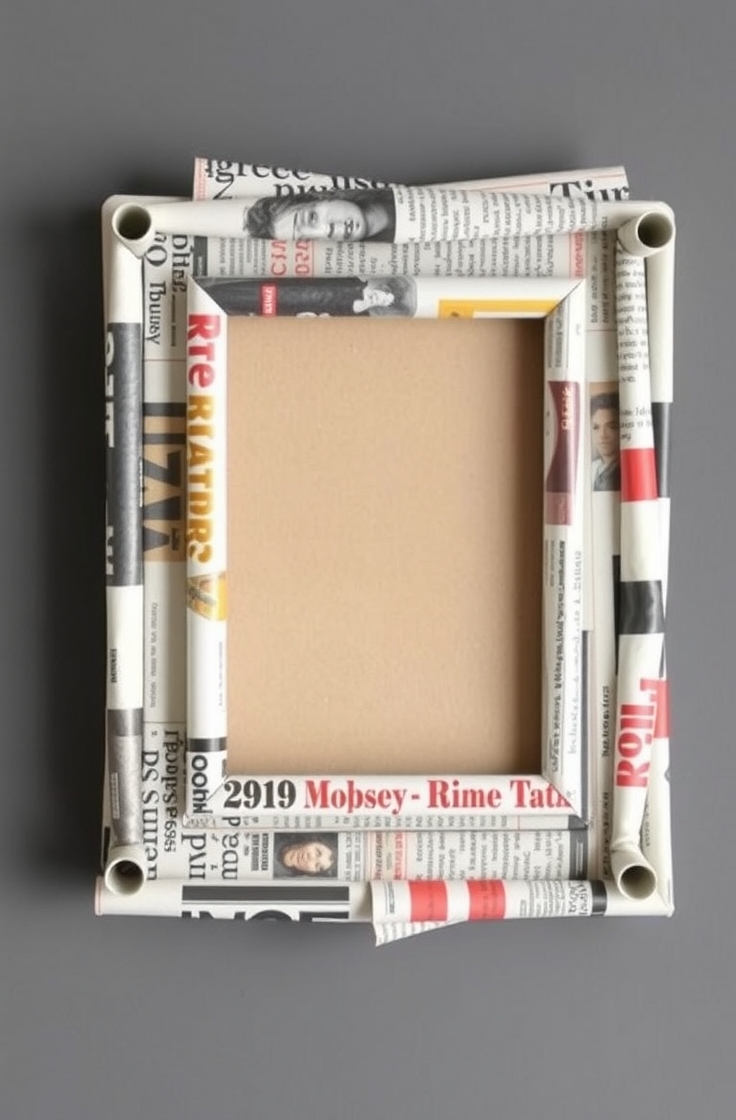
A newspaper or magazine frame is a creative way to upcycle old reading materials. It adds a unique and artsy feel.
Materials:
- Old newspapers or magazines
- Plain frame or cardboard
- Glue
Steps:
- Cut strips of paper from magazines.
- Roll each strip tightly to form tubes.
- Glue tubes onto the frame in different directions.
- Let dry and add the picture.
9. Cork Board Frame
A cork board frame is both decorative and functional. It allows for pinning notes, reminders, or extra photos.
Materials:
- Cork board
- Scissors
- Glue
- Paint (optional)
Steps:
- Cut cork into frame size.
- Paint or leave natural.
- Attach the picture with pushpins.
10. Painted Glass Frame
A painted glass frame adds a modern and artistic touch. It allows for customized colors and patterns.
Materials:
- Glass sheet
- Paint
- Tape
Steps:
- Tape off sections of glass for design.
- Paint in desired colors.
- Let dry and remove the tape.
- Place the photo behind the glass.
FAQs
1. What is the best material for a DIY picture frame? Wood, cardboard, and recycled materials work well.
2. Can I make a frame without tools? Yes, washi tape and clothespin frames need no special tools.
3. How do I hang a DIY frame? Use adhesive strips, nails, or a string for hanging.
Conclusion
A handmade picture frame adds charm to any room. These DIY ideas are simple and affordable. Try one today and give your photos a creative touch.