![]()
Clever DIY Walk-In Closet Ideas That Maximize Space & Style
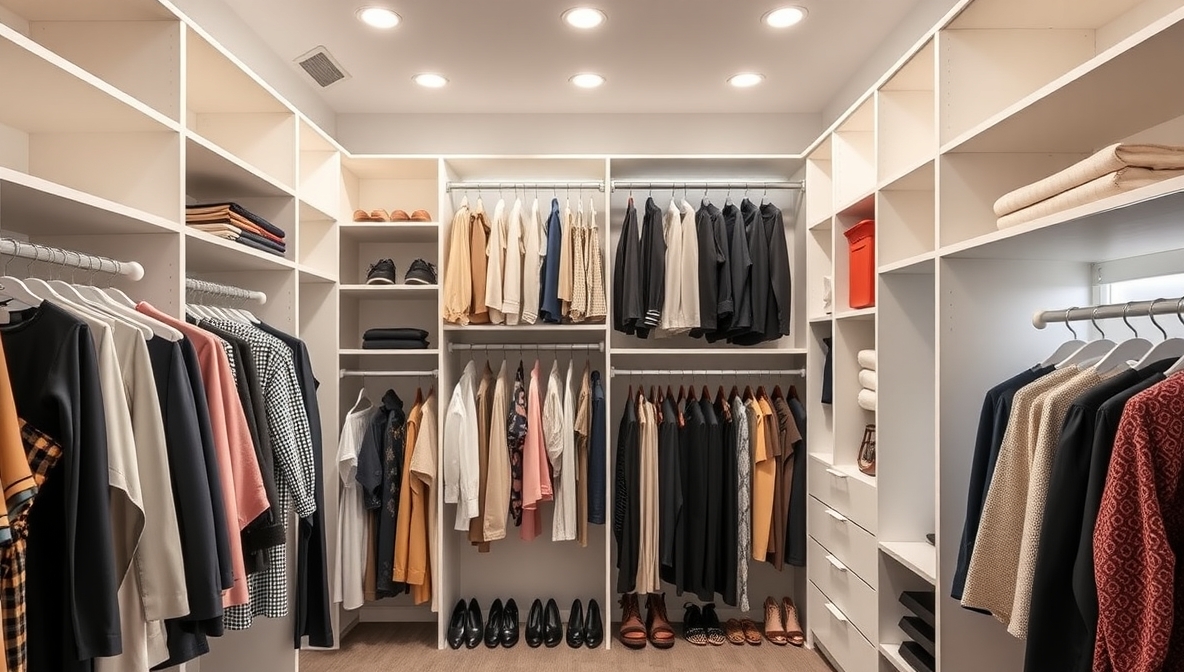
A walk-in closet doesn’t need a celebrity-sized wardrobe or a luxury budget. With the right ideas, any spare nook or unused space can evolve into a personalized dressing retreat that blends storage with serious style. A few strategic shelves, some clever lighting, and a touch of creativity can elevate even the smallest areas into functional and fabulous closets.
Old bookshelves turn into chic shoe racks. Curtain rods serve as handbag displays. Reclaimed wood adds warmth and charm to open shelving. It’s not about how much space you have—it’s how you use every inch with purpose and flair. These DIY walk-in closet ideas focus on smart storage, personality-driven design, and budget-friendly solutions that deliver both form and function.
Color-coordinated sections, labeled bins, and modular pieces bring order to chaos. Statement mirrors, cozy rugs, and ambient lights inject style into utility. A well-planned closet doesn’t just hold clothes; it sets the tone for the day ahead. From minimal to glam, there’s a style for every taste and size. Explore these ideas and unlock the full potential of your space—without calling in a contractor or draining your wallet.
DIY Walk-In Closet Ideas
Building your own walk-in closet brings more than just organization. It helps save space, time, and money. You don’t need to be a carpenter or have a big budget. With a little planning, simple tools, and some time, you can build a closet that fits your lifestyle. This guide covers 10 creative and easy DIY walk-in closet ideas. Each idea comes with materials, steps, and helpful tips.
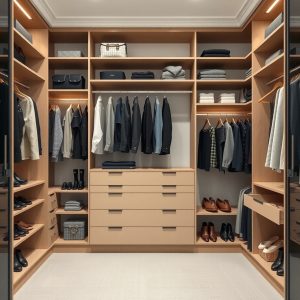
1. Open-Shelving Closet System
Materials Needed:
- Wooden boards or pre-made shelves
- Brackets or shelf supports
- Screws and wall anchors
- Drill
- Measuring tape
Steps:
- Measure the wall space in your closet.
- Cut the wooden boards to fit.
- Mark the wall where the shelves will go.
- Drill holes and fix brackets.
- Place the boards on top of brackets.
Open shelves make it easy to see everything at once. Keep clothes, shoes, and bags sorted on different levels. This is one of the simplest ways to create a clean, modern closet.
2. Pipe and Wood Hanging Rack
Materials Needed:
- Industrial pipes (black or silver)
- Pipe fittings (elbows and flanges)
- Wooden board (for top shelf)
- Screws
- Wall anchors
Steps:
- Decide where you want the rack to go.
- Fix the pipe flanges to the wall.
- Attach pipes and fittings to make the frame.
- Place the wooden board on top.
This gives a rustic look. It also holds a lot of weight. Use it to hang coats, shirts, or long dresses. Add baskets on the top shelf for more storage.
3. Corner Closet Unit
Materials Needed:
- Plywood or MDF
- L-brackets
- Paint (optional)
- Screws
- Closet rods
Steps:
- Measure the corner area.
- Cut the wood into triangle or L-shaped shelves.
- Paint the pieces if needed.
- Use brackets to fix shelves in the corner.
- Add rods under the shelves to hang clothes.
Make use of dead corner space. Corner units are great for smaller rooms. Store shoes below and folded items above.
4. Built-In Shoe Storage
Materials Needed:
- Wood planks
- Nail gun or screws
- Paint or wood stain
- Measuring tape
- Saw
Steps:
- Measure your shoe size and count the pairs.
- Cut the planks for each level.
- Nail or screw them into place.
- Finish with paint or stain.
This keeps shoes organized and easy to find. You can place this near the closet door or under hanging racks.
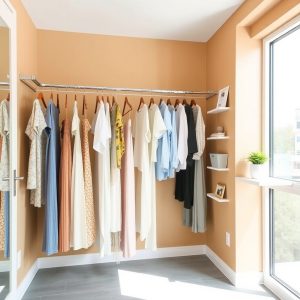
5. Dual Rod Hanging Space
Materials Needed:
- Closet rods
- Rod supports
- Screws
- Drill
- Tape measure
Steps:
- Measure your wall height.
- Place the lower rod around 3 feet from the floor.
- Fix the second rod 3 feet above the first.
- Use supports to keep them steady.
Two rods double your hanging space. Use the lower rod for pants and the top for shirts. This idea works well for kids’ closets too.
6. Closet with Sliding Barn Doors
Materials Needed:
- Sliding barn door kit
- Wood door panels
- Screws and drill
- Level
- Paint or finish (optional)
Steps:
- Assemble the door kit.
- Fix the rail above the closet entrance.
- Hang the doors on the rail.
- Adjust to make sure they slide smoothly.
Sliding doors save floor space. They also add style. Choose light colors to make the room feel larger.
7. Pegboard Organizer Wall

Materials Needed:
- Pegboard sheet
- Pegboard hooks
- Screws
- Drill
- Baskets or bins (optional)
Steps:
- Measure and cut the pegboard to fit a closet wall.
- Mount the board using screws.
- Add hooks and holders for bags, jewelry, or belts.
A pegboard keeps small items in one place. Move hooks around to change the setup anytime.
8. Modular Closet Cubes
Materials Needed:
- Plastic or wooden storage cubes
- Zip ties (for plastic)
- Screws (for wood)
Steps:
- Stack the cubes in your desired layout.
- Fix them together using zip ties or screws.
- Fill them with clothes, baskets, or shoes.
Modular cubes are easy to change or move. This idea is perfect for renters or small closets.
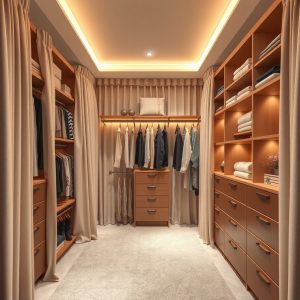
9. Curtain-Divided Walk-In Closet
Materials Needed:
- Curtain rod
- Curtains or fabric panels
- Wall hooks or brackets
- Screws and anchors
Steps:
- Fix curtain rod outside the closet area.
- Hang curtains to hide the closet space.
- Choose light or colorful fabric.
Curtains give privacy without taking much room. Great for open rooms or studio apartments.
10. DIY Island for Closet
Materials Needed:
- Old dresser or small table
- Paint or finish
- Drawer organizers
- Felt or fabric lining
Steps:
- Find a small dresser or nightstand.
- Paint or refinish for a clean look.
- Place it in the center of your walk-in closet.
- Add dividers inside drawers.
An island adds style and function. Use it to hold jewelry, socks, or folded clothes.
FAQs
Q: What is the cheapest way to build a walk-in closet? A: Use open shelving, rods, and simple wood. Reuse old furniture if possible.
Q: How much space is needed for a walk-in closet? A: A small walk-in needs at least 4 feet by 4 feet. Bigger ones can be 6 feet by 8 feet or more.
Q: Can I build a walk-in closet in a bedroom corner? A: Yes. Use curtains or sliding doors to mark the space.
Q: What tools do I need for a DIY closet? A: Basic tools like a drill, tape measure, saw, and screws will do.
Q: Is it possible to make a walk-in closet without drilling? A: Yes, use freestanding units, tension rods, or modular shelves.
Conclusion
Building your own walk-in closet doesn’t need to be hard. Start with what you have and build from there. Measure your space, choose an idea, and follow the steps. You’ll end up with a space that fits your style and keeps things in order. Simple, affordable, and made just for you.